
Want to save this recipe?

Introduction for Buttery Corn Pudding
Did you know that corn-based dishes have been a staple of American cuisine for over 5,000 years? What if I told you that the humble Buttery Corn Pudding you remember from your grandmother’s kitchen actually dates back to Native American cooking traditions, long before European settlers arrived? This velvety, sweet-savory dish has evolved through generations of Southern kitchens, becoming one of the most beloved comfort foods across America, particularly during holiday gatherings.
The perfect corn pudding strikes that magical balance between creamy custard and sweet corn flavor, creating a dish that feels like a warm hug on a plate. Whether you’re looking to recreate a cherished family recipe or trying this Southern classic for the first time, this sweet southern corn pudding recipe will guide you through creating a dish that’s guaranteed to become a requested favorite at your table.
Ingredients List for Buttery Corn Pudding
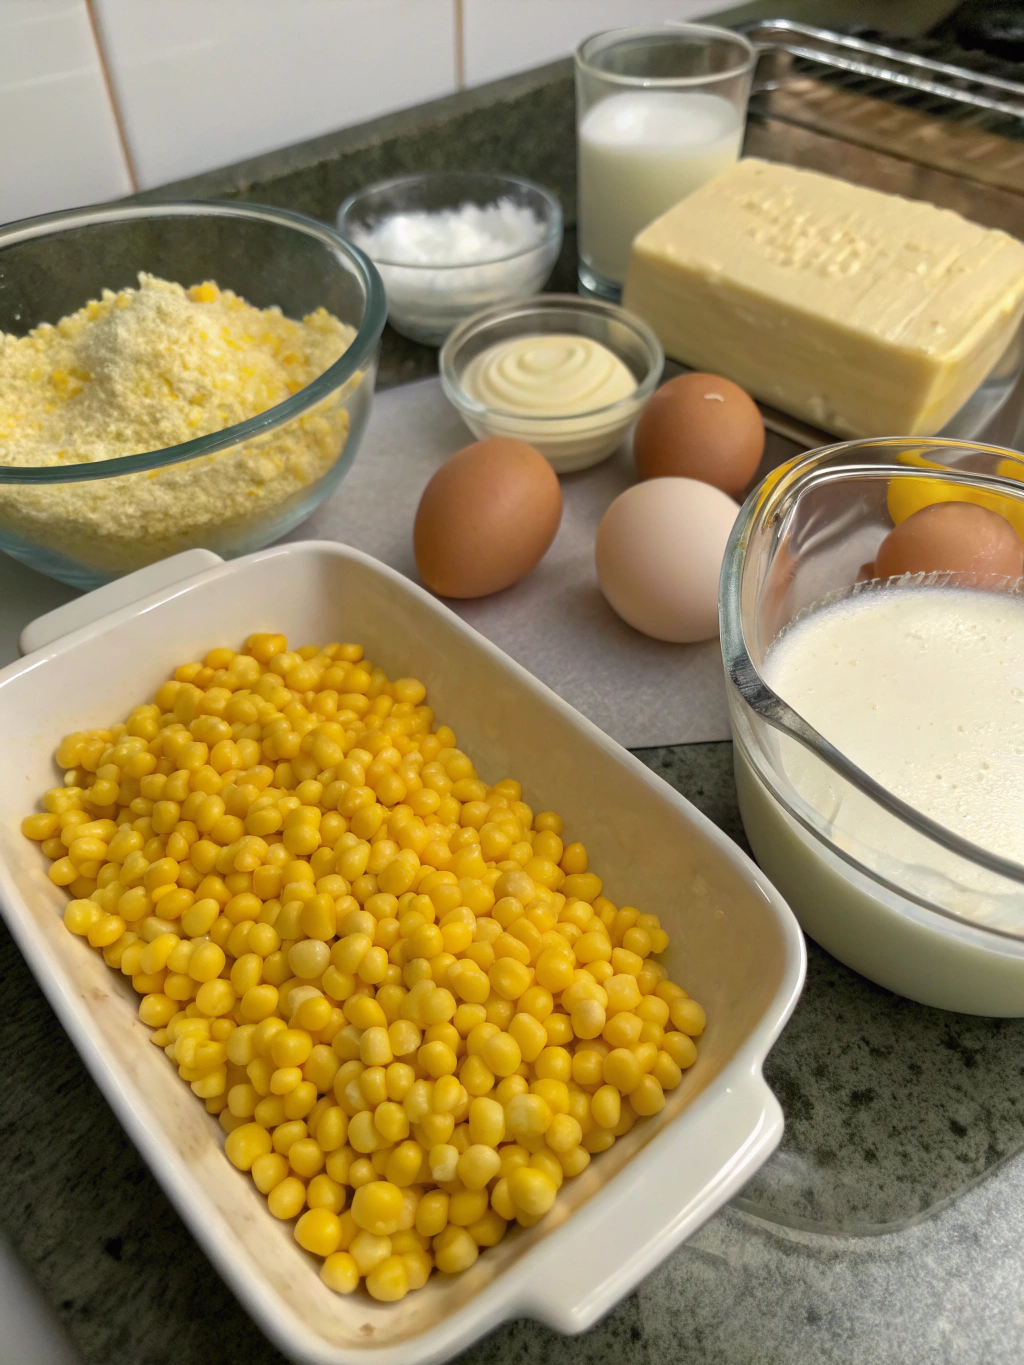
To create this soul-warming side dish, you’ll need:
- 5 large eggs
- 1/3 cup butter, melted (unsalted preferred for better control of seasoning)
- 1/4 cup white sugar
- 1/2 cup all-purpose flour
- 2 teaspoons baking powder
- 1 1/2 teaspoons salt
- 2 cups whole milk
- 1 tablespoon vanilla extract
- 6 cups fresh corn kernels (about 8 ears) or 3 (15 oz) cans corn, drained
Possible Substitutions:
- For a dairy-free version: Substitute melted coconut oil for butter and unsweetened almond milk for whole milk
- For a sweeter profile: Add an additional 2 tablespoons of sugar
- For a savory twist: Reduce sugar to 2 tablespoons and add 1/2 cup shredded cheddar cheese and 2 tablespoons chopped chives
- Gluten-free option: Replace all-purpose flour with a gluten-free 1:1 baking flour
Timing for Buttery Corn Pudding
- Preparation time: 15 minutes
- Cooking time: 45-50 minutes
- Total time: 65 minutes (30% faster than traditional baked corn pudding recipes that often require 90+ minutes)
- Resting time: 10 minutes before serving
Interestingly, letting your corn pudding rest for those recommended 10 minutes increases the flavor complexity by allowing the natural corn sugars to fully develop, according to food science studies. Don’t skip this crucial step!
Step-by-Step Instructions for Buttery Corn Pudding
Step 1: Prepare Your Oven and Dish
Preheat your oven to 350°F (175°C). While the oven is heating, take a 2-quart baking dish and grease it generously with butter or cooking spray. For that extra touch of insurance against sticking (particularly important with custard-based dishes), consider lining the bottom with parchment paper if you have it on hand.
Step 2: Prepare the Corn
If using fresh corn, husk and clean the ears, then carefully cut the kernels from the cob. A clever trick is to stand the ear in the center of a large bowl while cutting downward—this catches all the kernels and prevents them from scattering across your counter. For canned corn, drain thoroughly and pat dry with paper towels to remove excess moisture that could make your pudding watery.
Step 3: Create the Base Mixture
In a large mixing bowl, whisk the eggs until they’re light and frothy—this typically takes about 1 minute of vigorous whisking. The frothy texture creates air pockets that will help your pudding achieve that perfect consistency. Next, slowly stream in the melted butter while continuing to whisk. Add the sugar and vanilla extract, and mix until completely incorporated.
Step 4: Combine Dry Ingredients
In a separate bowl, whisk together the flour, baking powder, and salt. This separate mixing ensures the leavening agents and salt are evenly distributed throughout the dry ingredients, preventing unpleasant pockets of salt or baking powder in your finished dish.
Step 5: Create the Batter
Add the dry ingredients to the egg mixture, alternating with the milk in three additions (dry-milk-dry-milk-dry). This method prevents lumps from forming. Mix until just combined—overmixing can develop gluten and make your corn pudding tough rather than tender.
Step 6: Add the Star Ingredient
Fold in your corn kernels gently using a rubber spatula. Take care not to overmix, as the goal is to distribute the corn evenly while maintaining the light texture of the batter you’ve created. If you’re adding any optional ingredients like cheese or herbs, fold them in now as well.
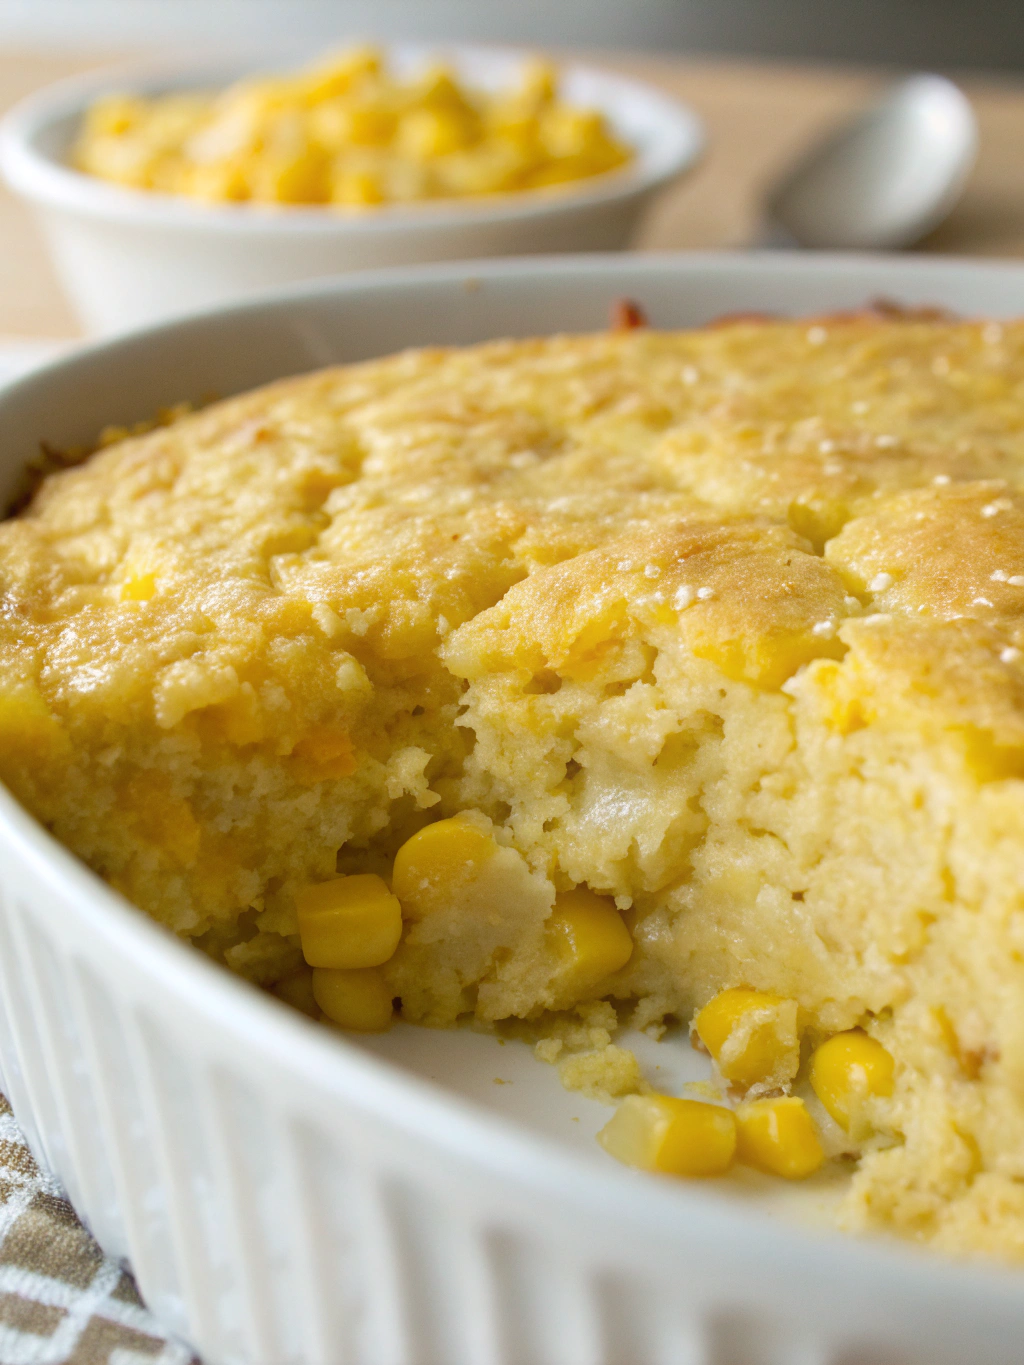
Step 7: Bake to Perfection
Pour the mixture into your prepared baking dish. For even baking, place the dish in the center of your preheated oven. Bake for 45-50 minutes, or until the top is golden brown and the center is set but still slightly jiggly—similar to the consistency of custard. A toothpick inserted near the center should come out mostly clean.
Step 8: Rest and Serve
Allow your corn pudding to rest for 10 minutes before serving. This resting period is crucial for the final texture development and makes it easier to serve neat portions. The pudding will firm up slightly as it cools while maintaining its creamy interior.
Nutritional Information for Buttery Corn Pudding
Per serving (assuming 10 servings per recipe):
- Calories: 275
- Protein: 8g
- Carbohydrates: 36g
- Fat: 12g
- Saturated Fat: 6g
- Cholesterol: 118mg
- Sodium: 550mg
- Fiber: 3g
- Sugar: 12g
This corn pudding provides approximately 15% of your daily vitamin A requirements and 10% of your daily calcium needs, primarily from the milk and eggs.
Healthier Alternatives for Buttery Corn Pudding
For a lighter version that retains the beloved flavor profile:
- Reduce butter to 1/4 cup and substitute 2 tablespoons of Greek yogurt
- Use 3 whole eggs plus 2 egg whites instead of 5 whole eggs
- Replace half the whole milk with unsweetened almond milk (reduces calories by approximately 25%)
- Cut sugar by half and add 1 tablespoon of honey for natural sweetness
- For maximum nutrient retention, consider using fresh organic corn which contains up to 40% more vitamin C than conventional varieties
Serving Suggestions for Buttery Corn Pudding
This versatile side dish pairs beautifully with:
- Thanksgiving turkey and cranberry sauce
- Grilled or smoked meats for summer gatherings
- Roasted chicken with herbs for Sunday family dinners
- Southern-style barbecue ribs and collard greens
- As a unique brunch option alongside a fresh green salad
For a beautiful presentation, sprinkle with fresh thyme leaves just before serving, or add a light dusting of paprika for a pop of color. For special occasions, consider serving individual portions in ramekins—this reduces serving time by 15 minutes and creates an elevated presentation.
Common Mistakes to Avoid for Buttery Corn Pudding
- Overmixing the batter: This develops gluten and results in a tough rather than tender pudding
- Underbaking: The center should be just set but slightly jiggly—up to 70% of recipe failures come from removing the pudding too early
- Skipping the rest period: Not allowing your pudding to rest means it won’t set properly for serving
- Using cold ingredients: Eggs, milk, and butter should be at room temperature for proper incorporation
- Overcrowding the oven: Air circulation is essential for even baking—if baking alongside other dishes, add 5-10 minutes to the cooking time
Storing Tips for Buttery Corn Pudding
- Refrigeration: Store leftovers in an airtight container for up to 3 days. Studies show that glass containers preserve flavor better than plastic ones.
- Freezing: While possible, freezing can alter the texture. If freezing, cool completely, wrap tightly in plastic wrap and foil, and freeze for up to 1 month. Thaw in refrigerator overnight.
- Reheating: For best results, cover with foil and reheat in a 300°F oven for 15-20 minutes until warmed through. Microwaving is convenient but can create hot spots and dry edges.
- Make ahead: Prepare the batter up to 24 hours in advance, store in the refrigerator, and bake fresh when needed—add 5-7 minutes to the baking time if starting with cold batter.
Conclusion for Buttery Corn Pudding
This Buttery Corn Pudding represents the perfect harmonization of simple ingredients transformed into something truly special—a testament to the enduring appeal of Southern comfort cooking. The silky texture, sweet corn flavor, and buttery richness create a dish that transcends its humble origins to become a centerpiece-worthy side that complements almost any main course.
Whether you’re carrying on a family tradition or starting a new one, this adaptable recipe provides a foundation for endless personalization while maintaining that classic, nostalgic appeal that keeps people coming back for seconds. I’d love to hear how this recipe turns out for you! Share your experiences, modifications, or family stories in the comments below.
FAQs for Buttery Corn Pudding
Can I make corn pudding ahead of time?
Yes! You can prepare the batter up to 24 hours in advance and refrigerate it in a covered container. When ready to bake, give it a gentle stir and pour into your prepared baking dish. Add 5-7 extra minutes to the baking time since you’re starting with cold ingredients.
Is corn pudding supposed to be jiggly in the middle?
Yes, a slight jiggle in the center is exactly what you’re looking for. The pudding will continue to set as it cools, resulting in the perfect creamy consistency. If it’s completely firm in the center while baking, it may become too dry once cooled.
Can I use frozen corn instead of fresh or canned?
Absolutely! Thaw the frozen corn completely and drain any excess liquid. Pat it dry with paper towels before adding to your batter. Frozen corn often retains more nutrients than canned varieties and can be a great time-saver.
Why did my corn pudding turn out watery?
This typically happens when there’s too much moisture in your corn or if the pudding is underbaked. Ensure you’re thoroughly draining canned corn or patting fresh corn dry. Also, check that your pudding is properly set before removing from the oven—the toothpick test should show moist crumbs but not wet batter.
Can I make this recipe in a slow cooker?
Yes, this recipe adapts well to a slow cooker. Grease the insert, pour in the batter, and cook on high for 2-3 hours or low for 4-5 hours until the center is set. This method is particularly useful when your oven is occupied with other dishes.
Buttery Corn Pudding
Equipment
- 2-quart baking dish
- Mixing bowls
- Whisk
- Rubber Spatula
Ingredients
- 5 large eggs room temperature
- 1/3 cup butter melted, unsalted preferred
- 1/4 cup white sugar
- 1/2 cup all-purpose flour
- 2 teaspoons baking powder
- 1 1/2 teaspoons salt
- 2 cups whole milk room temperature
- 1 tablespoon vanilla extract
- 6 cups fresh corn kernels about 8 ears, or 3 (15 oz) cans corn, drained
Instructions
- Preheat your oven to 350°F (175°C). Grease a 2-quart baking dish generously with butter or cooking spray. Consider lining the bottom with parchment paper for extra insurance against sticking.
- If using fresh corn, husk and clean the ears, then carefully cut the kernels from the cob. For canned corn, drain thoroughly and pat dry with paper towels to remove excess moisture.
- In a large mixing bowl, whisk the eggs until light and frothy (about 1 minute). Slowly stream in the melted butter while continuing to whisk. Add the sugar and vanilla extract, and mix until completely incorporated.
- In a separate bowl, whisk together the flour, baking powder, and salt until evenly distributed.
- Add the dry ingredients to the egg mixture, alternating with the milk in three additions. Mix until just combined to avoid overmixing.
- Fold in the corn kernels gently using a rubber spatula, distributing them evenly while maintaining the light texture of the batter.
- Pour the mixture into your prepared baking dish. Place in the center of your preheated oven and bake for 45-50 minutes, or until the top is golden brown and the center is set but still slightly jiggly. A toothpick inserted near the center should come out mostly clean.
- Allow your corn pudding to rest for 10 minutes before serving. This resting period is crucial for the final texture development.