Want to save this recipe?
Enter your email below and we’ll send the recipe straight to your inbox!
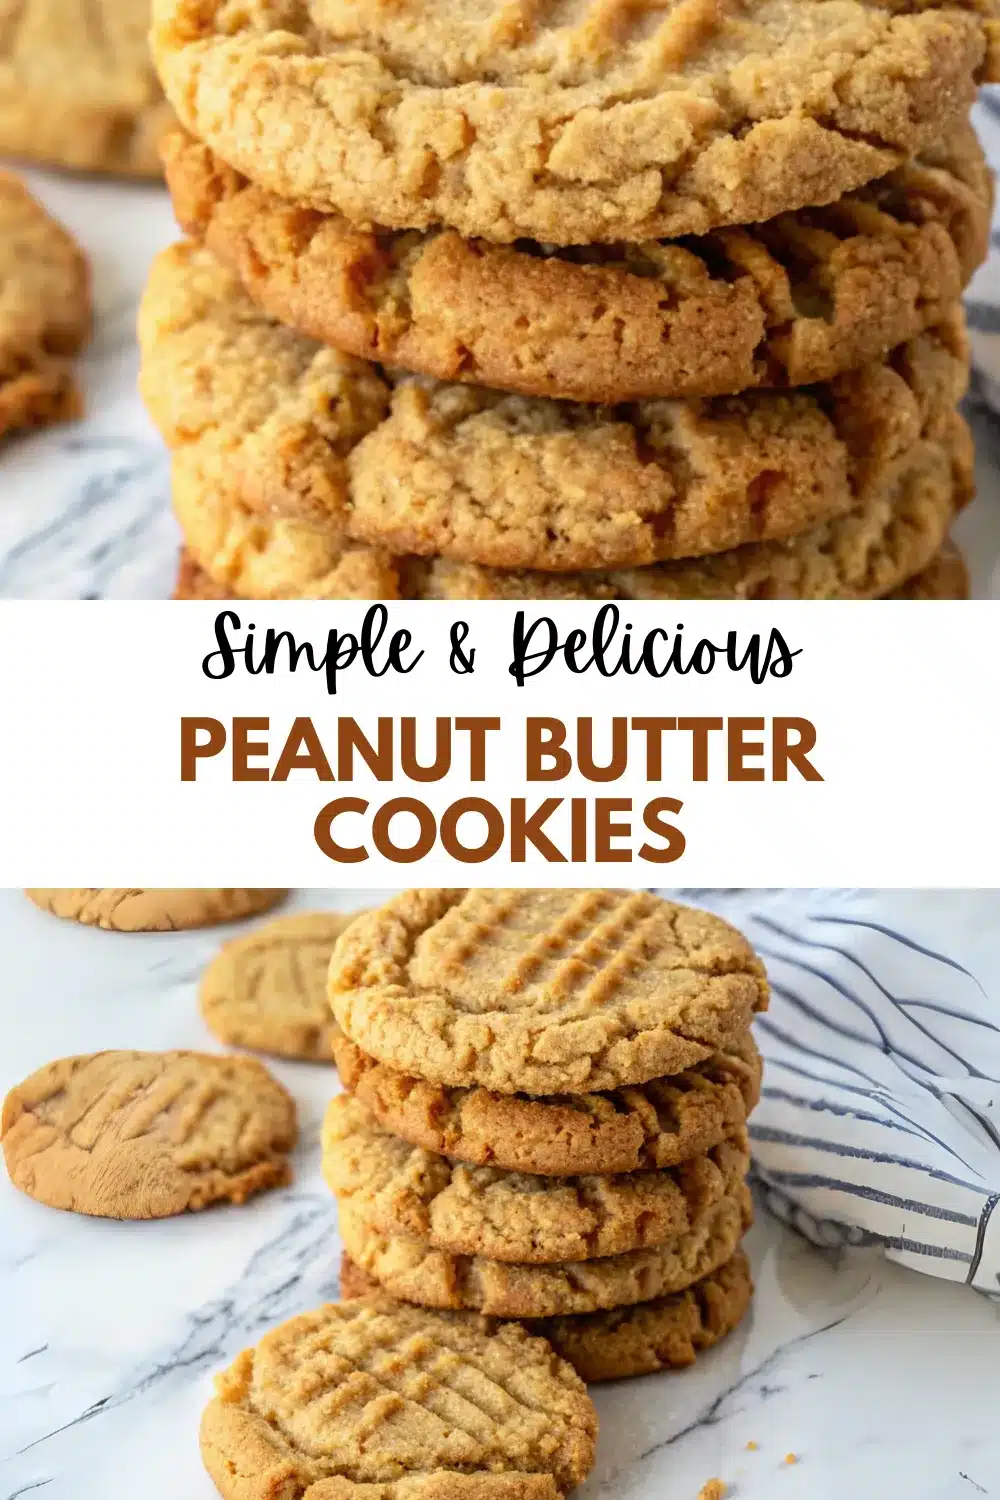
Looking for a timeless cookie recipe that combines crispy goodness with melt-in-your-mouth perfection? Gina’s Ultimate Melt-In-Your-Mouth Crispy Peanut Butter Cookies are just what you need. Originally inspired by a 1974 Southern Living Cookies Cookbook, this recipe has been a favorite with a personal touch ever since.
Why You’ll Love This Recipe
- Perfect Mix: These cookies blend the crispiness of a classic cookie with a delightful melt-in-your-mouth texture.
- Irresistible Flavor: The rich taste of JIF peanut butter adds a nutty and creamy dimension to every bite.
- Family Tradition: Ideal for doubling up the batch, these cookies are a yearly delight for gatherings or any occasion.
Ingredient Notes
- 1 cup butter-flavored Crisco shortening
- 1 cup granulated sugar
- 1 cup firmly packed brown sugar
- 1 tsp vanilla extract
- 2 large eggs, beaten
- 1 cup Jif peanut butter
- 2 cups all-purpose flour
- 2 tsp baking soda
- 1 tsp salt
To ensure your recipe turns out perfectly, measuring flour precisely is crucial. Here’s how to do it:
The Ideal Method: Using a Scale
- Invest in a digital kitchen scale: This is the most reliable way to measure flour accurately. Weighing your flour eliminates any guesswork and ensures consistency in your baking.
Without a Scale: The Spoon and Level Technique
- Fluff the Flour: Before scooping, give the flour a good stir to aerate it, which helps avoid compacted measurements.
- Spoon into Measuring Cup: Gently spoon the fluffed flour into your measuring cup. Avoid scooping directly from the bag, as this can lead to an excess amount.
- Level with a Knife: Use a straight edge, like the back of a butter knife, to scrape across the top of the cup. This levels the flour without compressing it, providing a more accurate measurement.
Following these steps will help you measure flour correctly and enhance the quality of your baked goods. If you’re still curious, there are numerous video tutorials online to guide you visually through the process.
How to Make Gina’s Ultimate Melt-In-Your-Mouth Crispy Peanut Butter Cookies
Step 1: Prep
Preheat your oven to 350°F. Using a stand mixer, combine the shortening, sugars, and vanilla extract until creamy.
Step 2: Mix
Add the beaten eggs and beat thoroughly. Mix in the peanut butter until well combined.
Step 3: Combine
In a separate bowl, blend the dry ingredients and then incorporate them into the creamed mixture.
Step 4: Scoop
Using a large scoop, portion the dough onto ungreased cookie sheets.
Step 5: Flatten
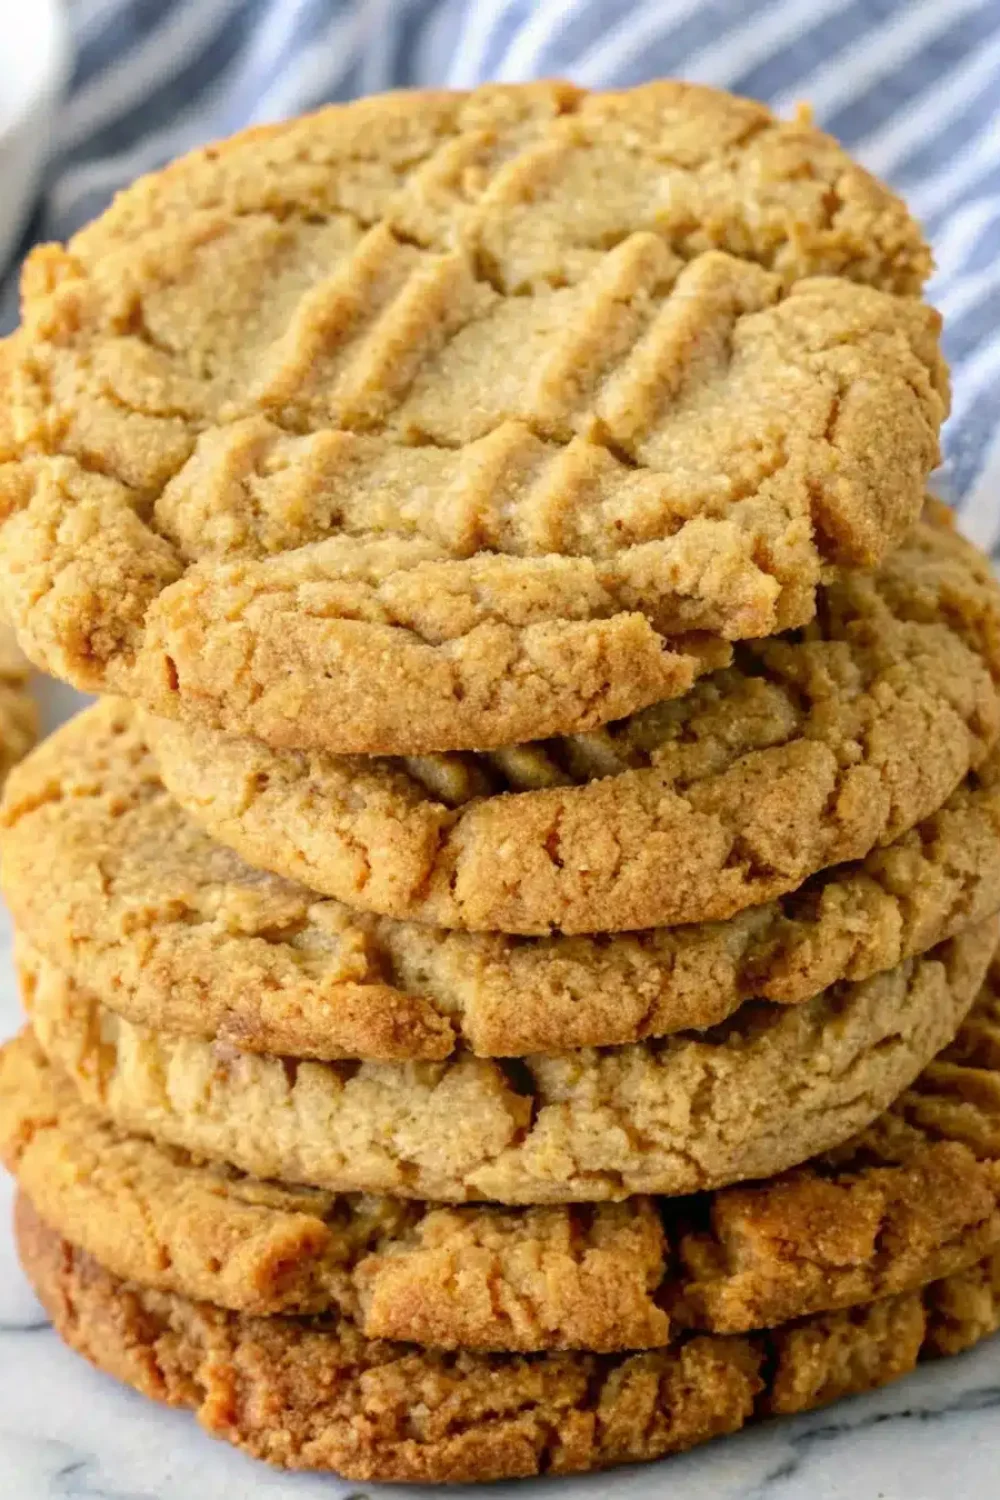
Using a fork dipped in milk, create a crisscross pattern on each cookie for a crispy finish.
Achieving the Perfect Fork Mark Pattern on Cookies
Creating that flawless fork mark crisscross on your cookies can elevate their appearance from ordinary to Instagram-worthy. Here’s how you can achieve the perfect pattern with ease:
- Choose Your Tool Wisely: While a traditional fork is a go-to, consider using skewers for a more distinct impression. Wooden skewers can be snapped in half and lined up for precision, giving you a neater, more defined pattern.
- Fork Technique: If you prefer using a fork, opt for one with longer tines for a deeper imprint. Press the fork gently onto the cookie dough. Instead of lifting the fork straight up, slide it back horizontally before pulling it away. This helps in maintaining a clean pattern without sticking.
- Using Skewers: If skewers are your choice, place a few side by side, press down lightly, and twist gently to release. This method might take a little more time, but it can result in beautifully aligned lines that are well worth the effort.
- Consistency Matters: Whichever tool you use, ensure you apply consistent pressure throughout to keep the marks even. Practice a few times to get a feel for the technique, and soon you’ll be making picture-perfect cookies every time.
With these tips, you can transform your homemade cookies into a visual delight that’s bound to impress your guests and spark joy in your baking endeavors.
Why Are Fork Marks Used on Peanut Butter Cookies?
Fork marks on peanut butter cookies serve an important purpose beyond being decorative. These cookies tend to be denser and thicker than other types of cookies, like chocolate chip or sugar cookies. As a result, they don’t naturally spread out during baking.
The distinctive crisscross pattern, made by pressing a fork into the dough, helps to:
- Flatten the Dough: By pressing the dough, you ensure that the cookies bake evenly. Without flattening, the thicker centers could remain undercooked while the edges might become overdone.
- Create Uniform Thickness: Consistent thickness allows for a uniform texture and a balanced baking time, resulting in cookies that are golden and chewy throughout.
- Enhance the Cooking Process: The pressed pattern increases the surface area, promoting even heat distribution and resulting in a perfectly cooked cookie.
So, the iconic fork marks are essential for achieving that classic, delicious peanut butter cookie texture we love.
Step 6: Bake
Bake the cookies at 350°F for exactly 14 minutes. Allow them to cool on the sheet before transferring to a wire rack.
Tips for Perfect Peanut Butter Cookies
Crafting the ideal peanut butter cookie involves a few expert techniques that will elevate your baking game.
- Perfect Timing in the Oven: Bake your cookies until they’re just barely turning golden at the edges. They’ll finish cooking from the residual heat once removed from the oven. This keeps them soft and chewy inside.
- Accurate Flour Measurement: Flour measurement can make or break your recipe. A digital scale is your best friend for precise measuring. If a scale isn’t available, aerate the flour by stirring it, then lightly spoon it into your measuring cup before leveling with a knife for consistency.
- Handling Freshly Baked Cookies: Fresh out of the oven, cookies can be very delicate. Allow them to cool on the baking sheet for a few moments before moving them to a wire rack. They’ll firm up perfectly when they reach room temperature.
- Storage for Freshness: Seal your cookies in an airtight container to maintain their deliciousness for up to a week. This keeps them fresh and ready for snacking anytime.
Follow these tips, and your homemade peanut butter cookies will be irresistible!
Choosing the Right Brown Sugar for Peanut Butter Cookies
When deciding on the type of brown sugar for your peanut butter cookies, both light and dark brown sugars are excellent choices, each offering unique flavors:
- Light Brown Sugar: This option delivers a more delicate sweetness to your cookies, maintaining the classic peanut butter taste while adding a mild molasses hint.
- Dark Brown Sugar: Opt for this if you desire a richer, more pronounced caramel-like flavor. The higher molasses content intensifies the cookie’s taste and gives it a deeper color and moisture.
In summary, the choice boils down to personal preference. If you enjoy a subtler cookie experience, go with light brown sugar. For those craving a deep, robust flavor, dark brown sugar is your best bet. Either way, both types will effectively enhance your peanut butter cookies.
Storage Options
To keep these cookies fresh, store them in an airtight container, ensuring they don’t press down on each other.
Variations and Substitutions
- Chunky Nutty Surprise: Add chopped nuts for an additional crunch.
- Chocolate Lover’s Twist: Mix in chocolate chips for a decadent variation.
- Gluten-Free Option: Substitute the all-purpose flour with a gluten-free alternative.
- Salted Caramel Dream: Drizzle caramel over the cookies for a gourmet touch.
What to Serve With Gina’s Ultimate Melt-In-Your-Mouth Crispy Peanut Butter Cookies
- Vanilla Ice Cream: Pair these cookies with a scoop of vanilla ice cream for a classic dessert.
- Cold Milk: Enjoy a glass of cold milk alongside these warm and crispy cookies.
- Hot Chocolate: Cozy up on a chilly day with a cup of hot chocolate and a plate of cookies.
- Fresh Berries: Serve with a side of fresh berries for a refreshing balance.
Frequently Asked Questions
Can I use natural peanut butter instead of Jif?
While you can substitute with natural peanut butter, the resulting texture and flavor may vary slightly.
For best results, consider these tips:
- Smooth and Salted: Opt for a smooth and salted variety to achieve the ideal texture for your cookies. This ensures a consistent spread and a balanced flavor.
- Adjusting Sweetness: If you have only sweetened peanut butter available, it will work just fine. You might want to decrease the sugar by about 2 tablespoons to prevent the cookies from becoming overly sweet.
- Mixing Natural Peanut Butter: If using natural peanut butter, which often lacks stabilizers, ensure you stir the jar thoroughly. The oil separation can lead to runny cookies if not properly mixed.
- Personal Preference: Ultimately, any brand you enjoy eating plain will be perfect for this recipe. Trust your taste buds to guide you to the best choice.
Can I freeze the cookie dough for later use?
Yes, you can freeze the cookie dough in individual portions and bake them later for freshly baked cookies anytime.
These peanut butter cookies are perfect for making in advance, offering you a delicious treat whenever the craving strikes. You can prepare the dough days ahead, allowing you to enjoy cookies with minimal effort.
The most challenging part might be waiting for them to set up after they’re out of the oven, but the resulting delight is well worth the patience.
Whether you choose to freeze the dough or bake the cookies beforehand, you’ll have a ready-to-enjoy indulgence at your fingertips.
Can I reduce the sugar in this recipe?
While the sugar adds to the cookie’s texture and flavor, you can experiment with reducing the sugar slightly to suit your taste preference.
Can I make smaller cookies with this recipe?
Adjust the cookie size by using a smaller scoop and reducing the baking time accordingly for equally delicious results.
Is Chilling Dough Necessary for Baking Peanut Butter Cookies?
When it comes to baking peanut butter cookies, chilling the dough isn’t a strict requirement. You can skip this step and still achieve delicious results. However, there are some benefits to chilling the dough if you choose to plan ahead.
- Improved Texture: Chilling allows the fats in the dough to solidify, which can lead to a thicker, chewier cookie as the dough spreads less during baking.
- Enhanced Flavor: Letting the dough rest in the fridge can allow the flavors to meld and develop, sometimes resulting in a richer taste.
- Easier Handling: Cooler dough is less sticky and easier to shape or portion, which can be especially helpful if you’re making large batches or using decorative techniques.
In conclusion, while it’s not necessary to chill your peanut butter cookie dough, doing so could enhance the overall texture and flavor of your cookies, giving you better control over the final product. Whether pressed for time or looking to optimize your baking experience, you have the flexibility to choose what works best for you.
Peanut butter cookies owe their soft and velvety texture to a few key factors. First, the natural oils in peanut butter contribute to a moist, tender crumb, which helps the cookie maintain a soft consistency. These oils act as a fat source, enriching the dough and preventing it from becoming too dry.
Additionally, the creamy nature of peanut butter adds a smoothness to the mixture, resulting in a velvety crumb once baked. Choosing a peanut butter with a good balance of oil and protein, like Jif or Skippy, can enhance this texture even further. Lastly, the sugar in the recipe works alongside the peanut butter to lock in moisture, ensuring that each bite is soft and melts in your mouth.

Crispy Peanut Butter Cookies
Ingredients
- 1 cup butter flavored Crisco shortening
- 1 cup granulated sugar
- 1 cup firmly packed brown sugar
- 1 tsp vanilla extract
- 2 large eggs beaten
- 1 cup Jif peanut butter
- 2 cups all-purpose flour
- 2 tsp baking soda
- 1 tsp salt
Instructions
- Preheat your oven to 350°F. Combine the shortening, sugars, and vanilla extract until creamy.
- Add the beaten eggs and beat thoroughly. Mix in the peanut butter until well combined.
- In a separate bowl, blend the dry ingredients and then incorporate them into the creamed mixture.
- Using a large scoop, portion the dough onto ungreased cookie sheets.
- Using a fork dipped in milk, create a crisscross pattern on each cookie for a crispy finish.
- Bake the cookies at 350°F for exactly 14 minutes. Allow them to cool on the sheet before transferring to a wire rack.


