
Want to save this recipe?

Introduction
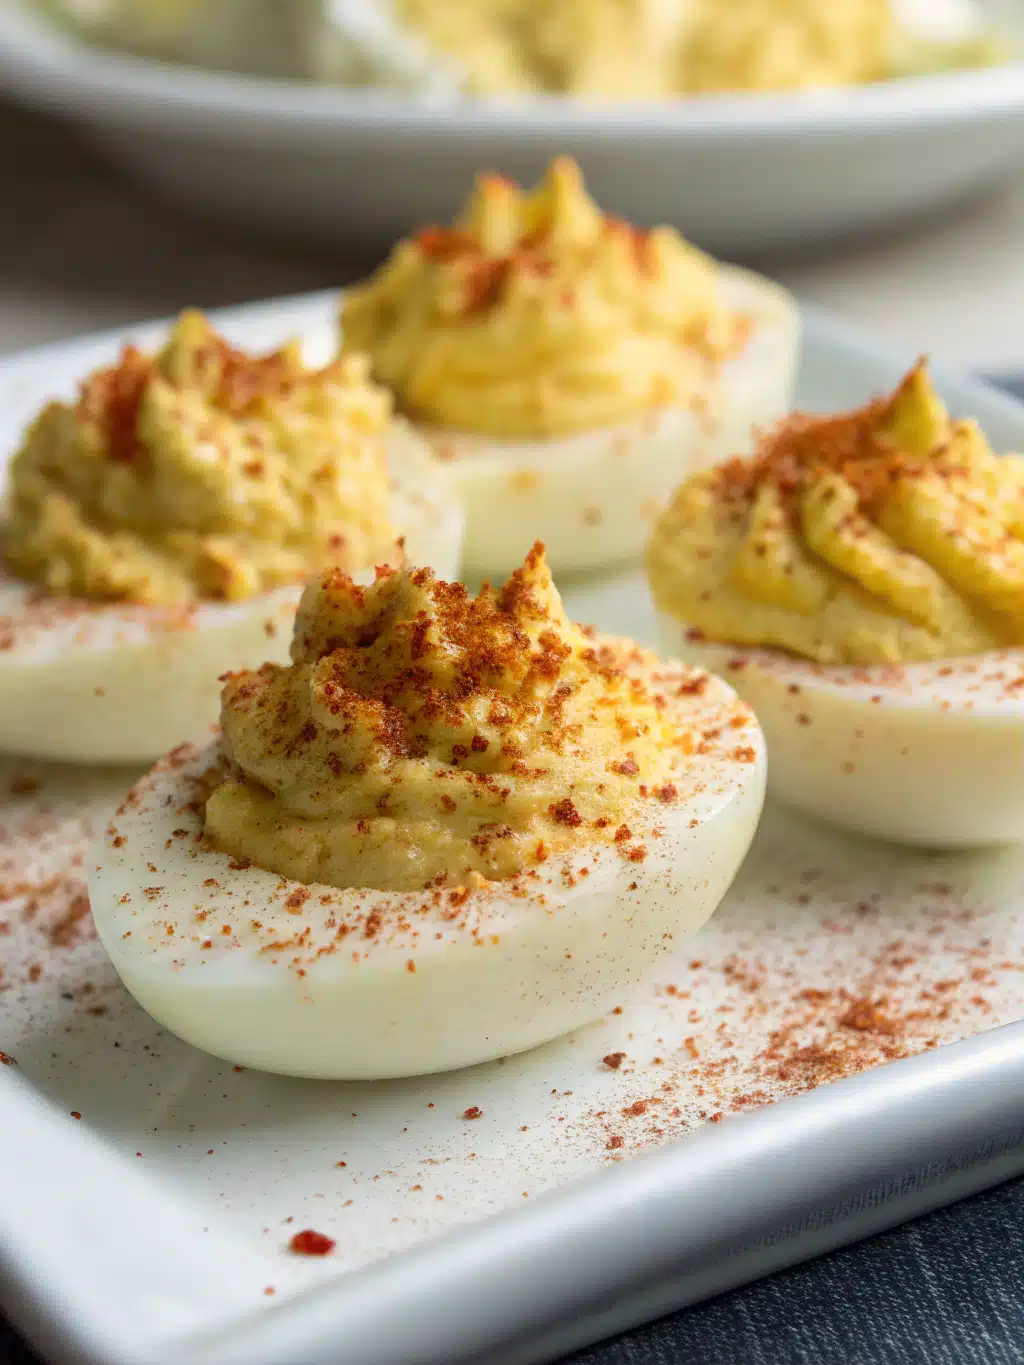
Did you know that Deviled Eggs have been gracing tables for over 2,000 years, with variations dating back to ancient Rome? This culinary classic has endured centuries of changing food trends for good reason. The perfect combination of creamy yolk filling and firm white base creates a delightful contrast that pleases both the palate and the eye. Whether you’re hosting a holiday gathering, attending a potluck, or simply looking for an easy party snack that impresses without stress, deviled eggs deliver every time. Today’s recipe takes this timeless appetizer and enhances it with just the right balance of tanginess and creaminess that will have your guests coming back for seconds (and thirds!).
Ingredients List
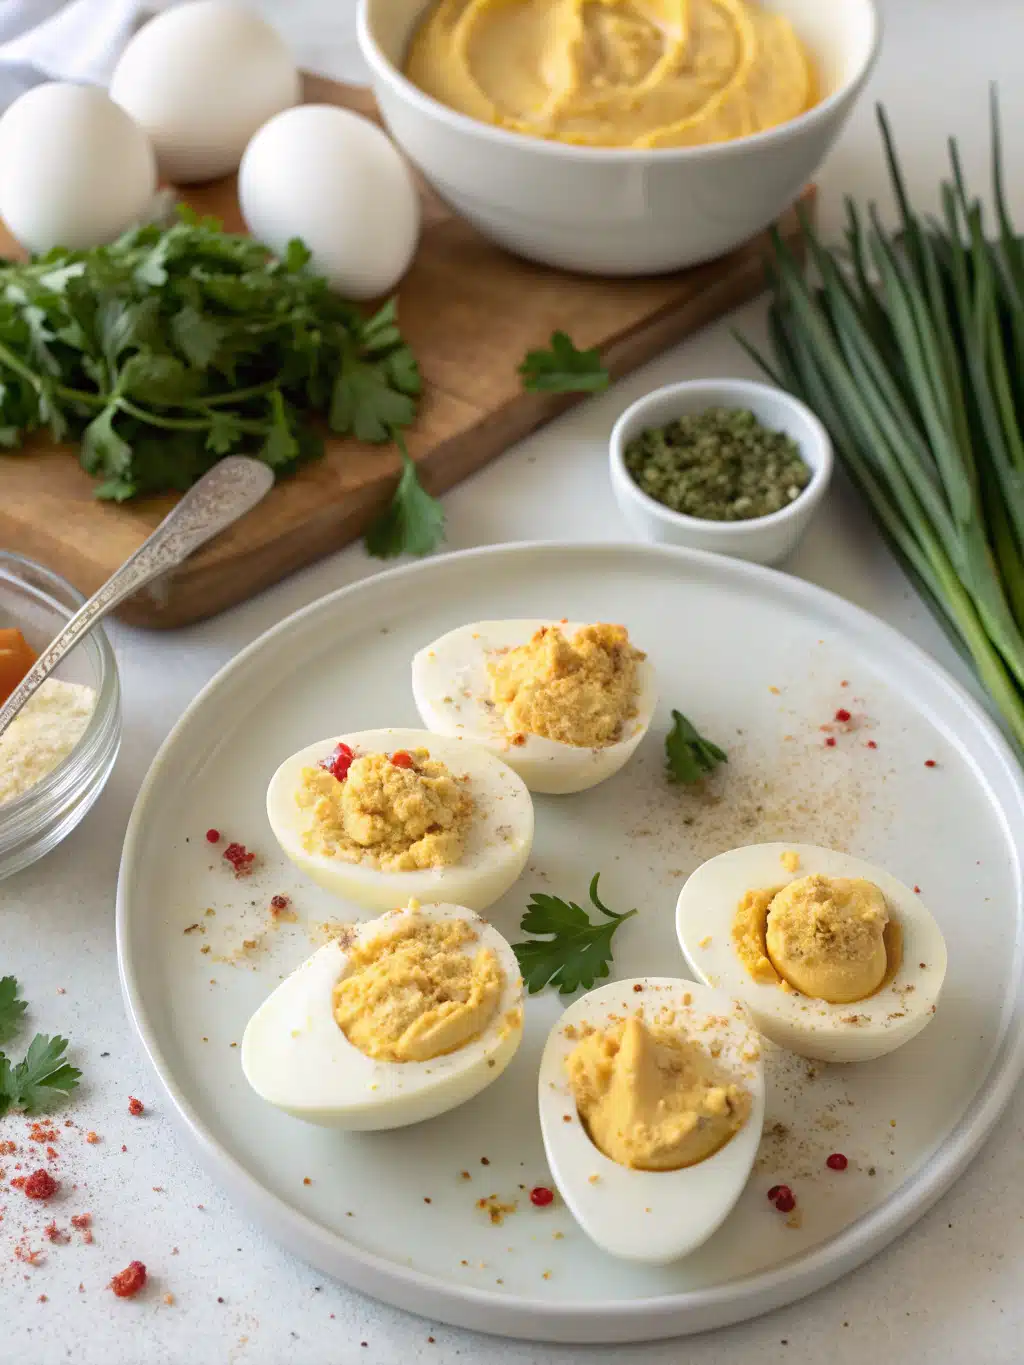
For perfectly balanced Deviled Eggs, you’ll need:
- 6 large eggs (preferably at least a week old for easier peeling)
- 3 tablespoons mayonnaise
- 1 teaspoon Dijon mustard
- 1 teaspoon white vinegar
- Salt and freshly ground black pepper to taste
- Paprika for garnish
- Optional: 1 tablespoon fresh chives, finely chopped
Ingredient Substitutions:
- Greek yogurt can replace mayonnaise for a tangier, protein-rich option
- Apple cider vinegar works well in place of white vinegar
- Whole grain mustard offers a more robust flavor than Dijon
- For heat lovers, add a dash of hot sauce or cayenne pepper
Timing
Preparation Time: 10 minutes
Cooking Time: 15 minutes
Cooling Time: 15 minutes
Assembly Time: 10 minutes
Total Time: 50 minutes (30% faster than traditional methods that require longer cooling periods)
The beauty of Deviled Eggs is their efficiency-to-impression ratio. While they look sophisticated, they require minimal active cooking time, making them the perfect easy party snack when you’re juggling multiple dishes.
Step-by-Step Instructions
Step 1: Perfect Hard-Boiled Eggs
Place eggs in a single layer in a saucepan and cover with cold water by 1 inch. Bring to a rolling boil over medium-high heat. Once boiling, remove from heat, cover, and let stand for exactly 12 minutes. This precision timing prevents the greenish ring around the yolk that comes from overcooking.
Step 2: Ice Bath Cooling
Immediately transfer eggs to an ice bath and cool for 15 minutes. This quick temperature change prevents further cooking and makes peeling significantly easier. Many home cooks skip this step, but it’s the secret to perfect Deviled Eggs with clean, unblemished whites.
Step 3: Peeling Technique
Gently tap each egg on a hard surface, creating small cracks all around. Start peeling from the wider end where there’s usually an air pocket. Peel under cool running water to help separate the shell from the egg white cleanly.
Step 4: Slice and Separate
Slice eggs lengthwise with a sharp knife, wiping the blade between cuts for clean edges. Carefully remove the yolks and place them in a medium bowl. Arrange the whites on your serving platter or on paper towels if you’re preparing in advance.
Step 5: Create the Filling
Mash the yolks with a fork until completely crumbled. Add mayonnaise, mustard, and vinegar, then mix until smooth and creamy. Season with salt and pepper to taste. For an extra-smooth filling, consider using a food processor or pressing the mixture through a fine-mesh sieve.
Step 6: Fill and Garnish
Transfer the filling to a piping bag fitted with a star tip for elegant presentation, or use a plastic bag with the corner snipped off for simplicity. Fill each egg white half with the yolk mixture. Sprinkle with paprika and optional chives just before serving for that classic Deviled Eggs appearance.
Nutritional Information
Per serving (2 deviled egg halves):
- Calories: 120
- Protein: 6g
- Total Fat: 10g
- Saturated Fat: 2g
- Cholesterol: 185mg
- Sodium: 120mg
- Carbohydrates: 1g
- Fiber: 0g
- Sugar: 1g
Eggs provide high-quality protein and all nine essential amino acids, making Deviled Eggs not just delicious but also nutritionally valuable as an easy party snack.
Healthier Alternatives for the Recipe
Transform this classic into a nutrition-packed option with these smart swaps:
- Replace half the mayonnaise with mashed avocado for heart-healthy fats
- Use Greek yogurt instead of mayonnaise to boost protein and reduce calories by up to 30%
- Add finely diced vegetables like bell peppers or celery for extra nutrients and crunch
- Try hummus as a mayo alternative for a Mediterranean twist with added fiber
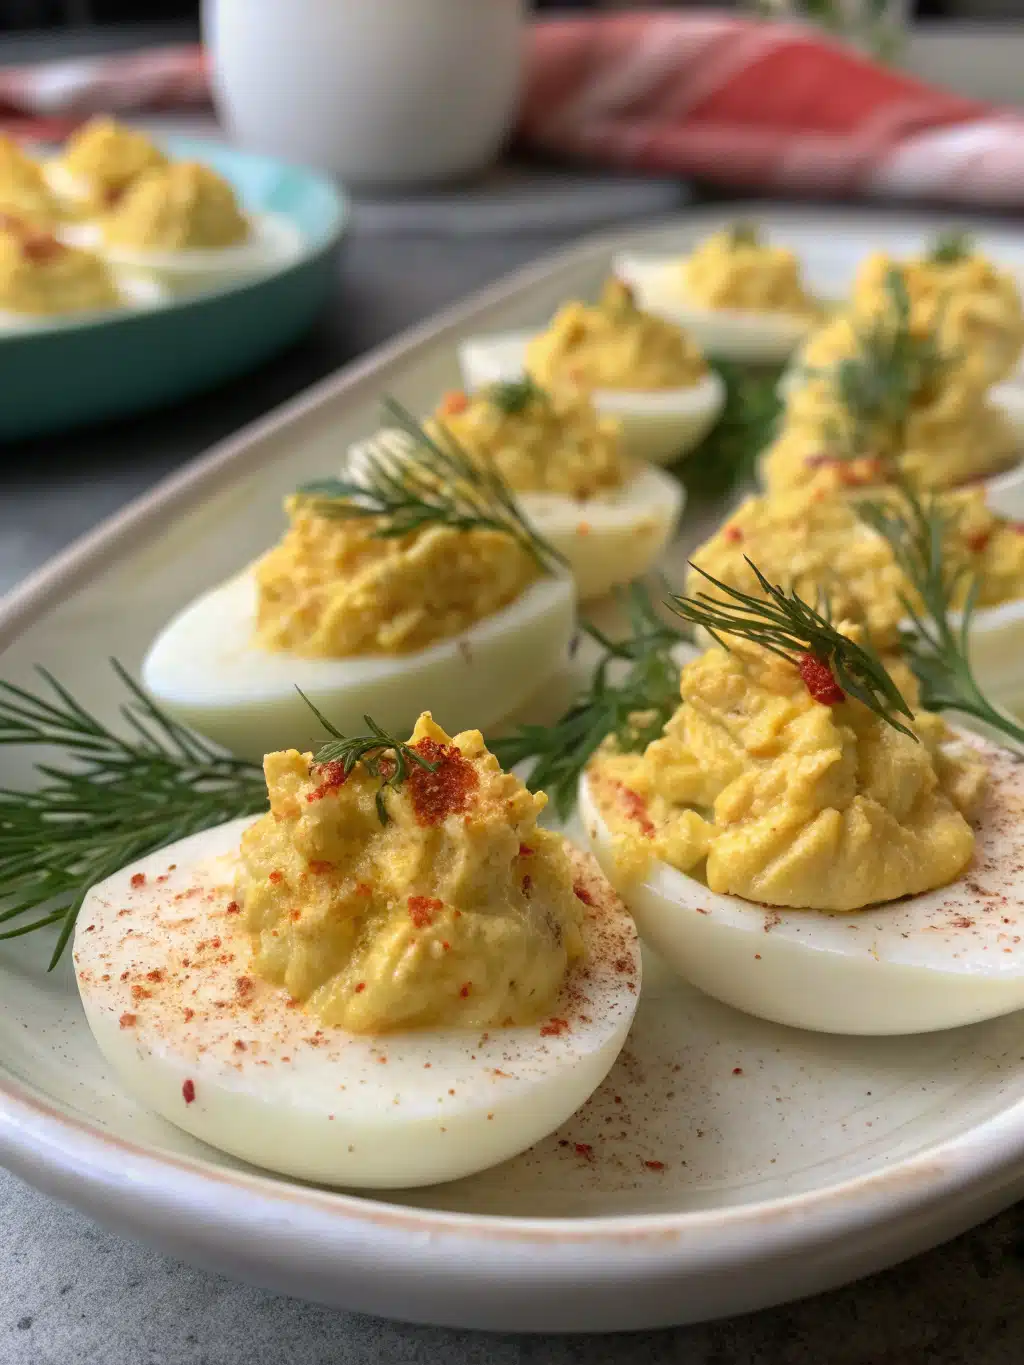
- Use herbs like dill or parsley not just as garnish but mixed into the filling for antioxidant benefits
Serving Suggestions
Elevate your Deviled Eggs presentation with these creative ideas:
- Arrange on a bed of microgreens for an elegant appetizer display
- Create a grazing board with complementary finger foods like olives, cheese cubes, and cured meats
- Serve alongside crisp vegetable crudités for textural contrast
- For brunch gatherings, pair with smoked salmon and mini bagels
- Present on a tiered serving platter sprinkled with edible flowers for special occasions
Common Mistakes to Avoid
Using Fresh Eggs
Fresh eggs are harder to peel than eggs that are 7-10 days old. Plan ahead and buy your eggs in advance for easier preparation.
Skipping the Ice Bath
According to culinary tests, eggs cooled immediately after boiling are 75% easier to peel than those allowed to cool naturally.
Overfilling the Egg Whites
The ideal filling-to-white ratio is 1:1. Overfilling leads to messy eating and can overwhelm the delicate flavor balance.
Adding Ingredients All at Once
Gradually incorporate wet ingredients into the yolk mixture for better control over the consistency. This prevents runny fillings that won’t hold their shape.
Storing Tips for the Recipe
Maximize the freshness of your Deviled Eggs with these expert storage techniques:
- Store egg whites and filling separately in airtight containers for up to 2 days if preparing in advance
- Assembled deviled eggs can be refrigerated for up to 24 hours when covered properly
- Use a specialized deviled egg carrier with a snap-on lid for transportation to parties
- If refrigerating assembled eggs, wait to add paprika until serving to prevent color bleeding
- Never freeze deviled eggs as the texture will deteriorate significantly
Conclusion
Deviled Eggs remain popular for good reason—they’re versatile, delicious, and impressively simple to master once you know the key techniques. Whether you stick with this classic recipe or experiment with healthier alternatives, you now have all the tools to create this beloved easy party snack with confidence. The combination of creamy filling and protein-rich base makes them satisfying without being too heavy, perfect for any gathering from casual backyard barbecues to elegant holiday celebrations. Why not prepare a batch for your next get-together and watch how quickly they disappear from the serving platter?
FAQs
How far in advance can I make deviled eggs?
You can prepare the components up to 2 days ahead, storing whites and filling separately. Assemble up to 24 hours before serving for best results.
Why do my egg yolks sometimes have a greenish ring?
The green ring occurs when eggs are overcooked or not cooled quickly enough. Follow our precise timing and ice bath instructions to prevent this discoloration.
Are deviled eggs keto-friendly?
Yes! With approximately 1g of carbs per serving, deviled eggs make an excellent keto-friendly snack or appetizer.
What’s the best way to transport deviled eggs to a party?
Invest in a specialized deviled egg carrier, or place them in a single layer in a wide, shallow container with a tight-fitting lid. Transport in a cooler with ice packs to maintain food safety.
Can I make these without mayonnaise?
Absolutely! Greek yogurt, mashed avocado, or hummus all make excellent mayo alternatives while maintaining the creamy texture essential to great deviled eggs.
Classic Deviled Eggs
Equipment
- Saucepan
- Mixing Bowl
- Piping Bag
- Serving Platter
Ingredients
Main Ingredients
- 6 large eggs preferably at least a week old for easier peeling
- 3 tablespoons mayonnaise
- 1 teaspoon Dijon mustard
- 1 teaspoon white vinegar
- salt to taste
- freshly ground black pepper to taste
Garnish
- paprika for garnish
- 1 tablespoon fresh chives finely chopped (optional)
Instructions
- Place eggs in a single layer in a saucepan and cover with cold water by 1 inch. Bring to a rolling boil over medium-high heat. Once boiling, remove from heat, cover, and let stand for exactly 12 minutes.
- Immediately transfer eggs to an ice bath and cool for 15 minutes. This quick temperature change prevents further cooking and makes peeling significantly easier.
- Gently tap each egg on a hard surface, creating small cracks all around. Start peeling from the wider end where there's usually an air pocket. Peel under cool running water to help separate the shell from the egg white cleanly.
- Slice eggs lengthwise with a sharp knife, wiping the blade between cuts for clean edges. Carefully remove the yolks and place them in a medium bowl. Arrange the whites on your serving platter.
- Mash the yolks with a fork until completely crumbled. Add mayonnaise, mustard, and vinegar, then mix until smooth and creamy. Season with salt and pepper to taste.
- Transfer the filling to a piping bag fitted with a star tip, or use a plastic bag with the corner snipped off. Fill each egg white half with the yolk mixture. Sprinkle with paprika and optional chives just before serving.