Pimento Cheese Stuffed Celery
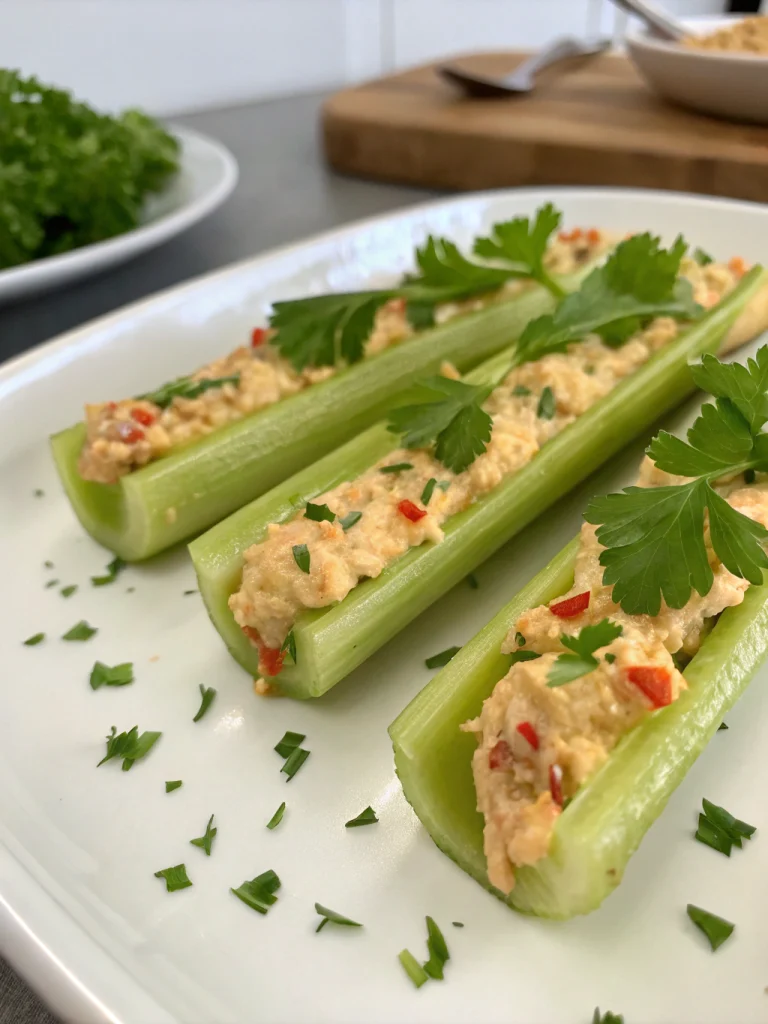
Crisp celery filled with creamy pimento cheese—simple, nostalgic, and perfect for gatherings.
Classic Deviled Eggs
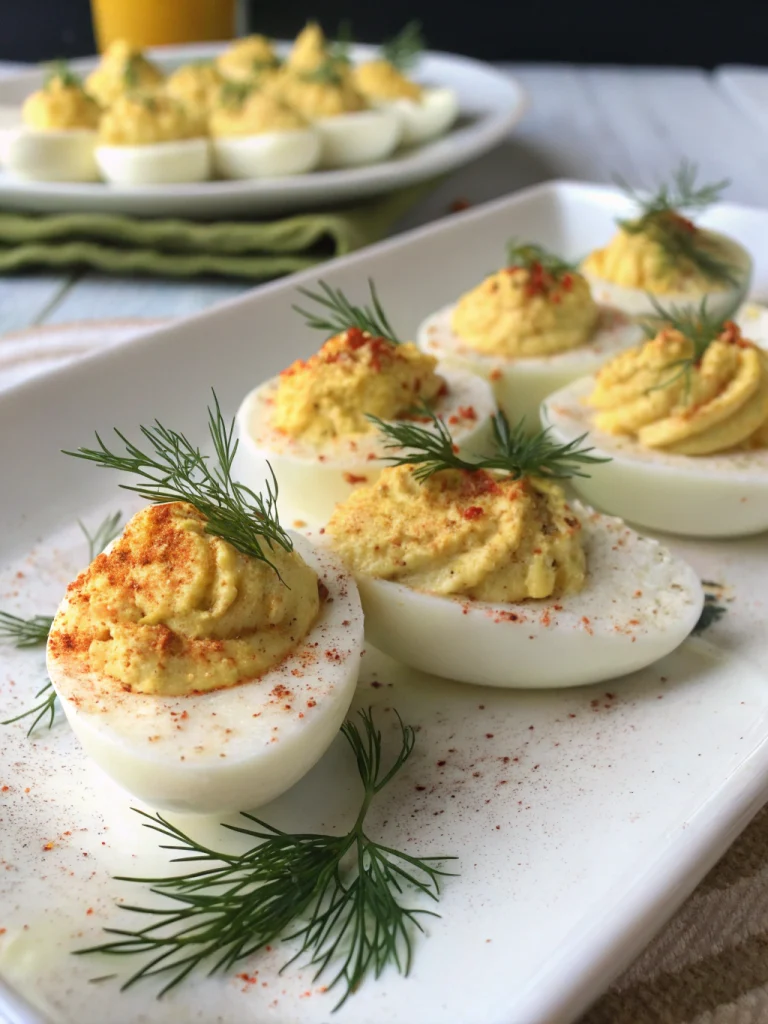
These creamy, tangy deviled eggs are a timeless party favorite from Easter brunch to summer picnics.
Sweet and Sour Meatballs Recipe
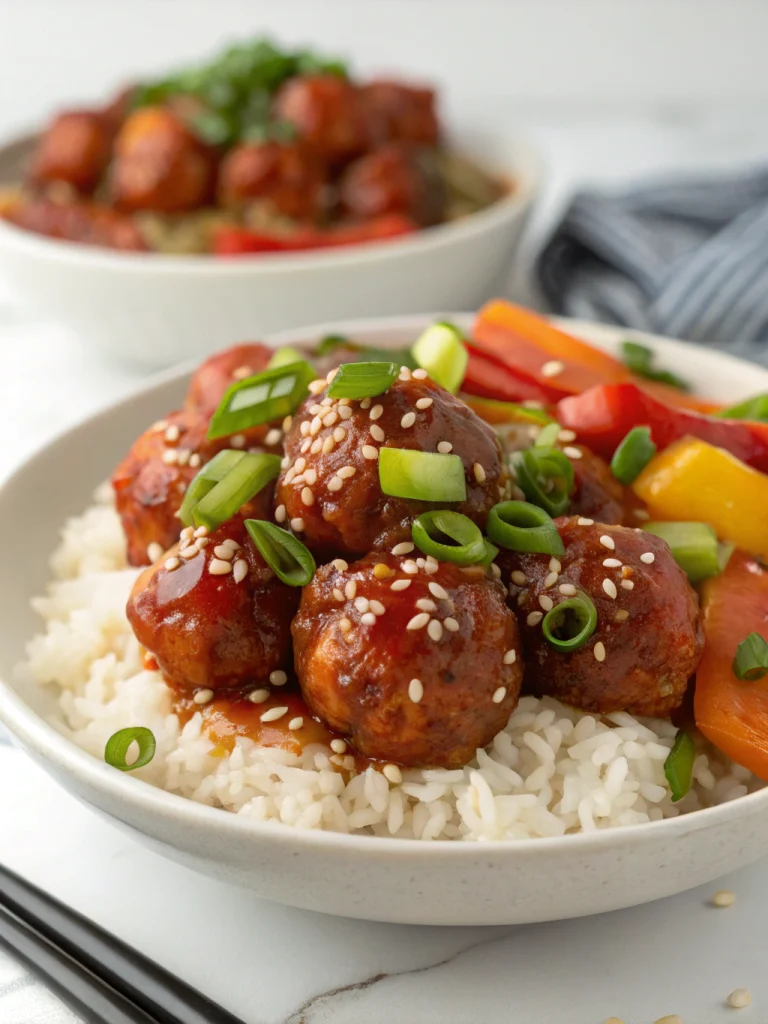
Tender meatballs simmered in tangy pineapple-sweet sauce—perfect over rice or served with party toothpicks.
Mama’s Deviled Eggs
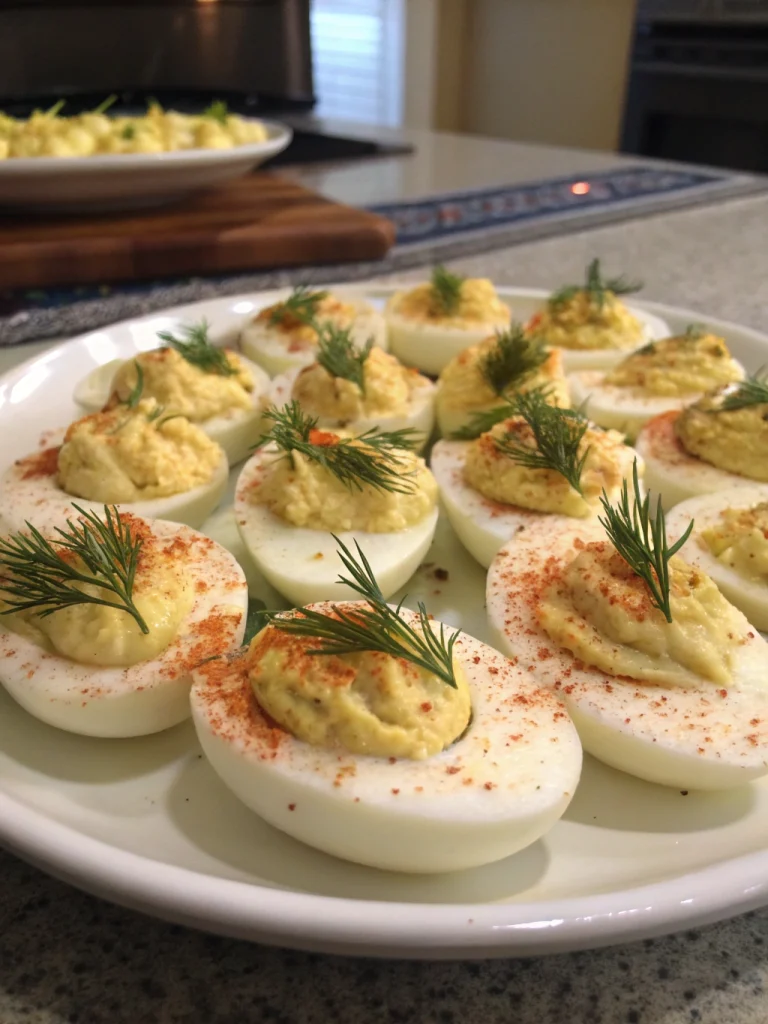
Creamy yolk filling with a hint of mustard and paprika—simple, nostalgic bites that disappear fast at parties.
Epic Beef Nachos Supreme
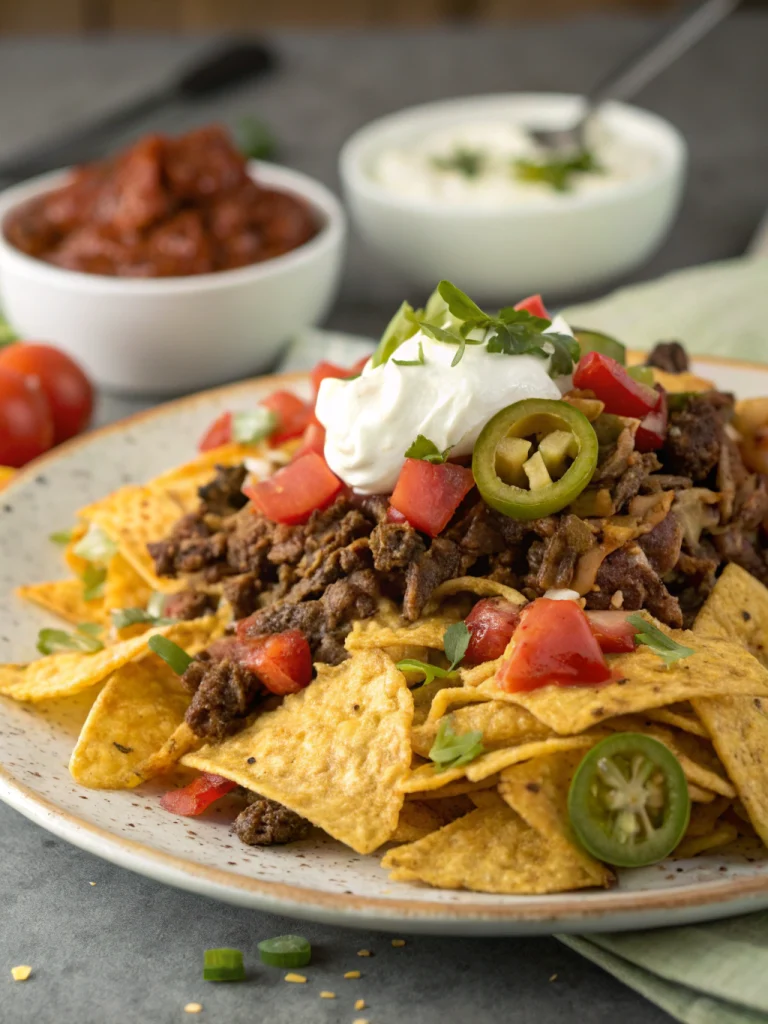
Layer upon layer of crunchy chips, seasoned beef, melty cheese, and zesty toppings—party-worthy nachos in minutes.
Italian Bell Pepper and Onion Scarpaccia
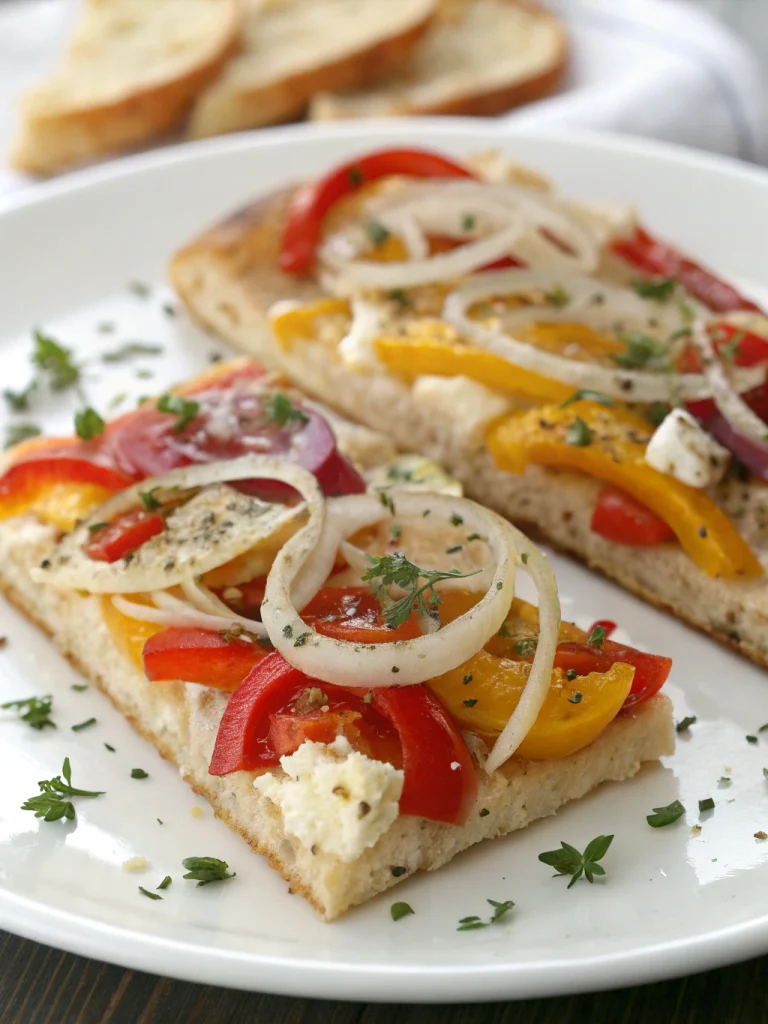
A rustic Tuscan-style flatbread dotted with sweet bell peppers and onions—thin, crisp edges and soft, savory bites in the middle.
Crispy Zucchini Patties

Sneak in your veggies with these Crispy Zucchini Patties! Cheesy, flavorful, and pan-fried to golden perfection. A great appetizer or side dish.
The BEST Lemon Bars Recipe – Bright, Tangy & Fool-Proof 2025
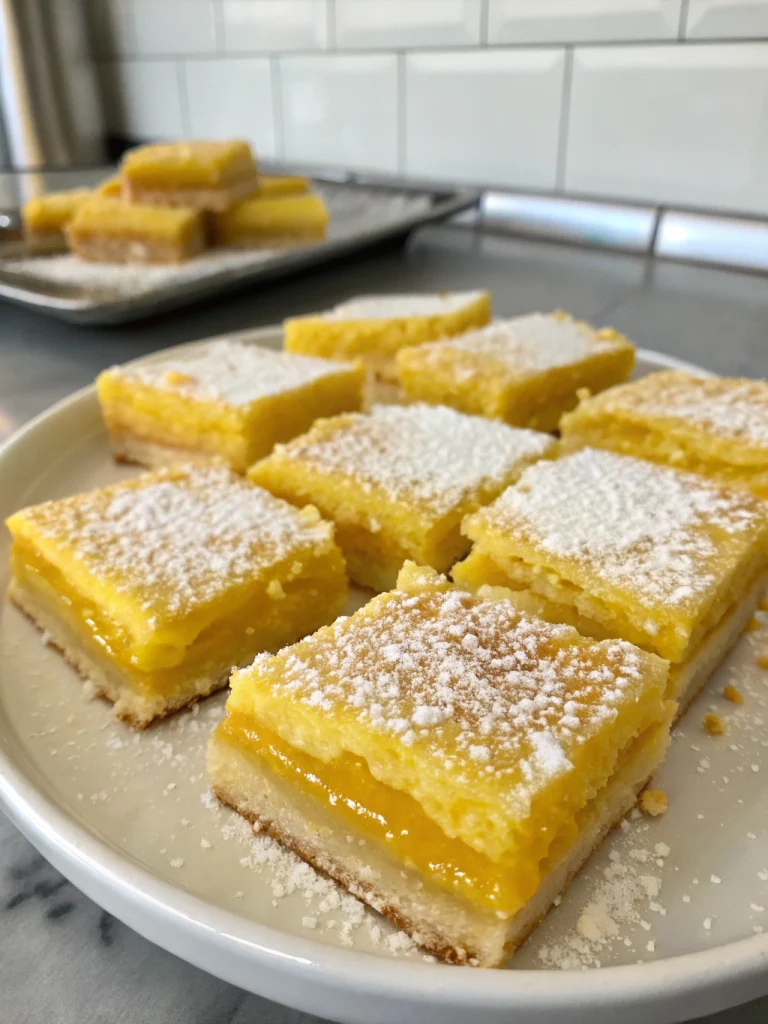
Love that sweet-tart bite? These are the best lemon bars I’ve baked yet—packed with fresh-squeezed flavor, a buttery shortbread base, and a silky citrus topping that sets up perfectly every time. One pan, simple pantry staples, and you’ll have bakery-style bars that disappear fast at picnics or potlucks.
Grilled Peach Prosciutto Flatbread
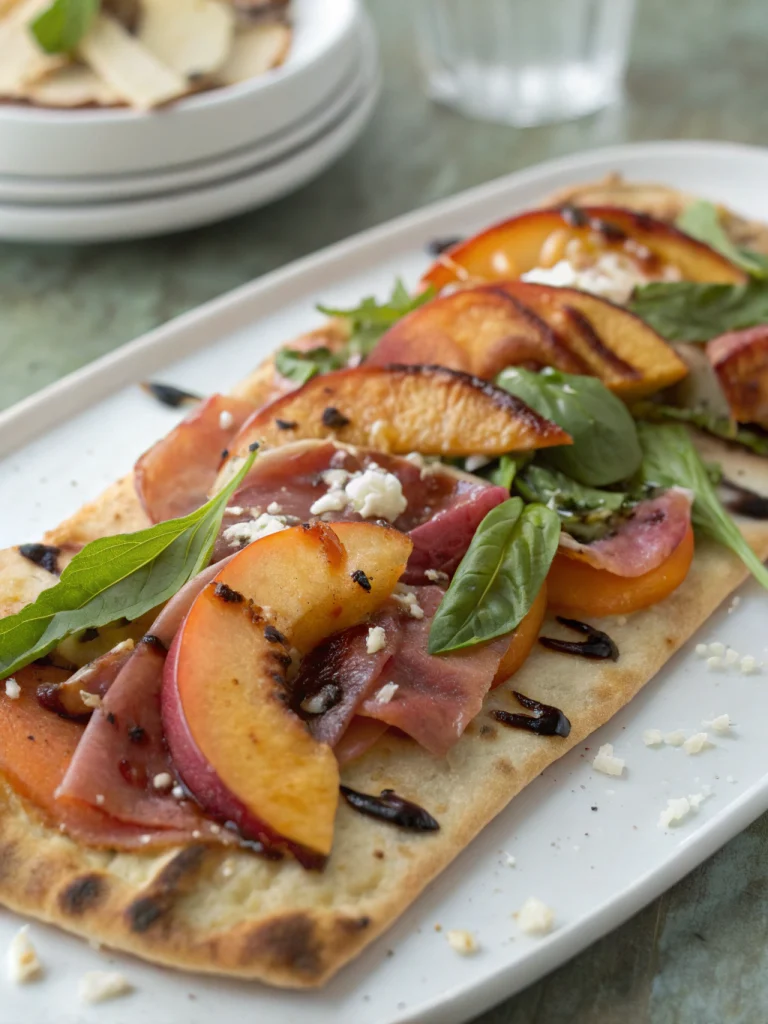
A unique sweet and savory appetizer! Grilled flatbread topped with creamy ricotta, sweet grilled peaches, and salty crispy prosciutto.
No-Bake Blueberry Lemon Cheesecake Cups
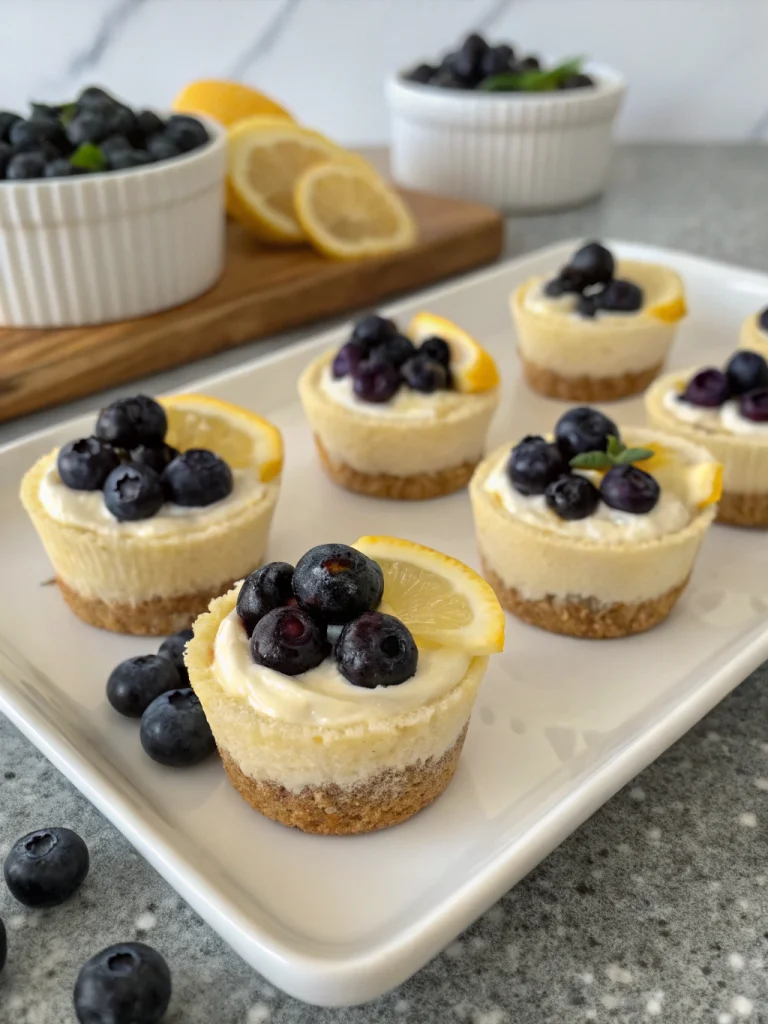
Creamy, tangy no-bake cheesecake filling layered with fresh blueberry sauce and graham cracker crust in individual cups. Cool and easy for summer.