Christmas Morning Sausage Casserole
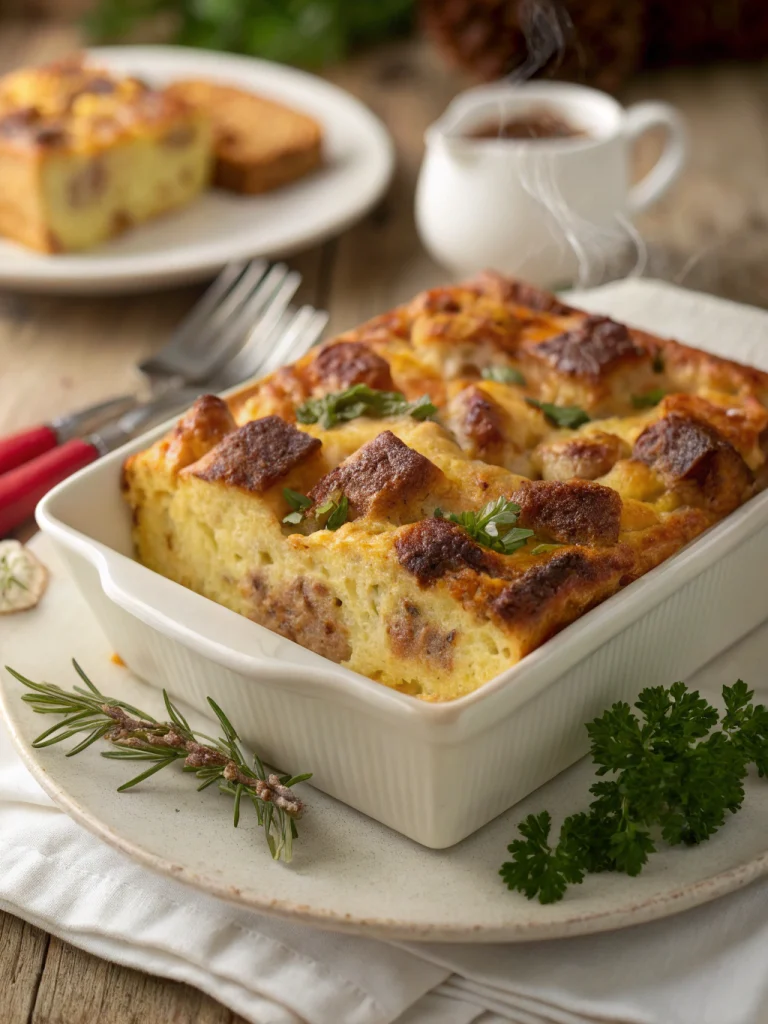
Wake up to the heavenly aroma of this Christmas Morning Sausage Casserole baking while presents are unwrapped. Assemble it the night before for a stress-free holiday breakfast tradition that feeds the whole family.
Christmas Morning Breakfast Casserole
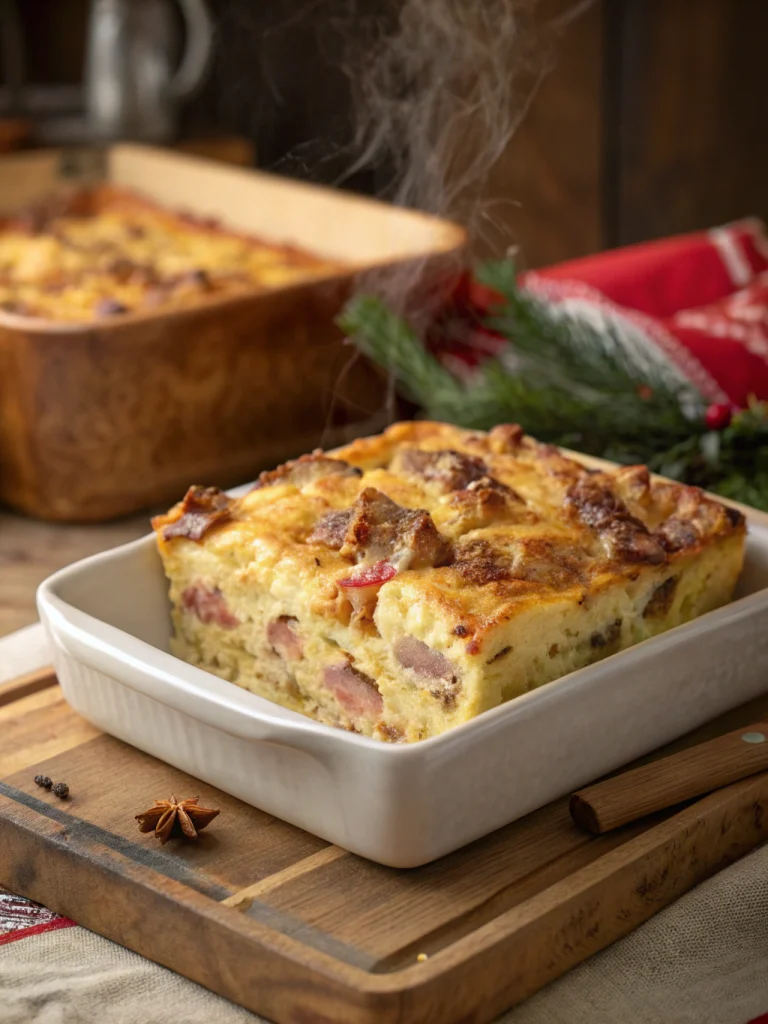
This savory Christmas Morning Breakfast Casserole brings festive warmth to your holiday table. Assemble it the night before and wake to a hearty, family-pleasing dish that lets you enjoy the magic of Christmas morning without kitchen stress.
Farmhouse Buttermilk Pancakes
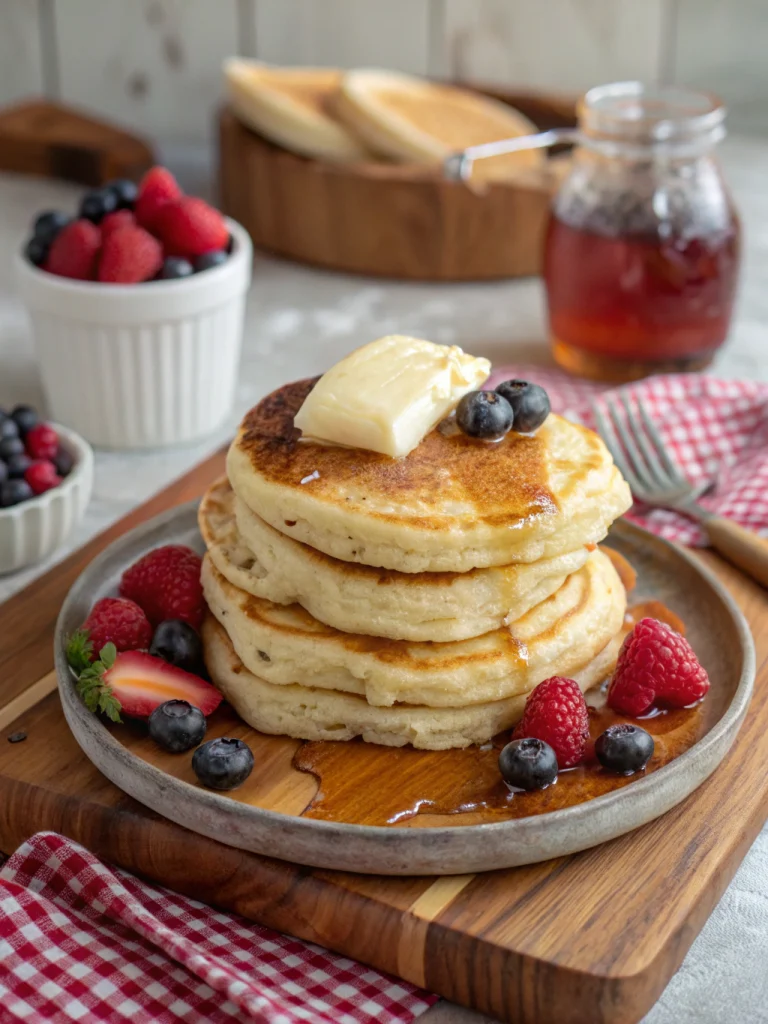
Fluffy, golden, and made from scratch—these pancakes are what breakfast dreams are made of.
Sticky Maple Pecan Rolls

Sweet, sticky, and packed with pecans—these rolls are weekend morning perfection.
Christmas Morning Breakfast Casserole
Hearty and easy, this casserole feeds a crowd on Christmas morning with love and flavor.
Sour Cream Coffee Cake
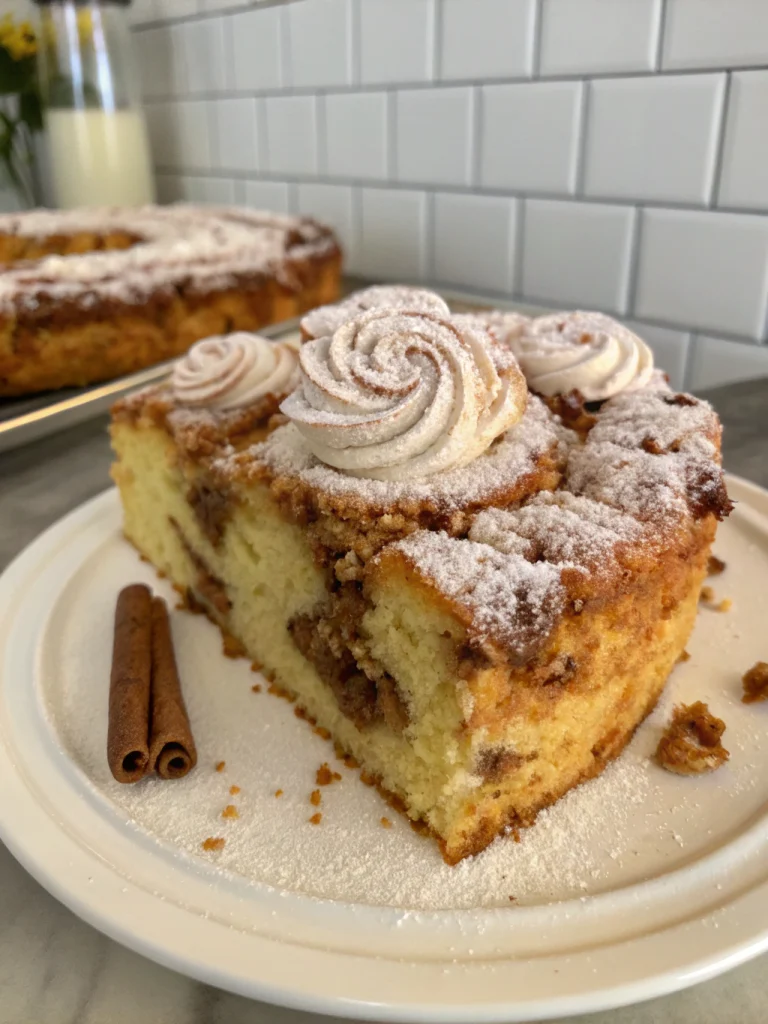
This tender coffee cake with a buttery crumb topping is a perfect morning treat or cozy dessert.
Quick Sausage Breakfast Casserole
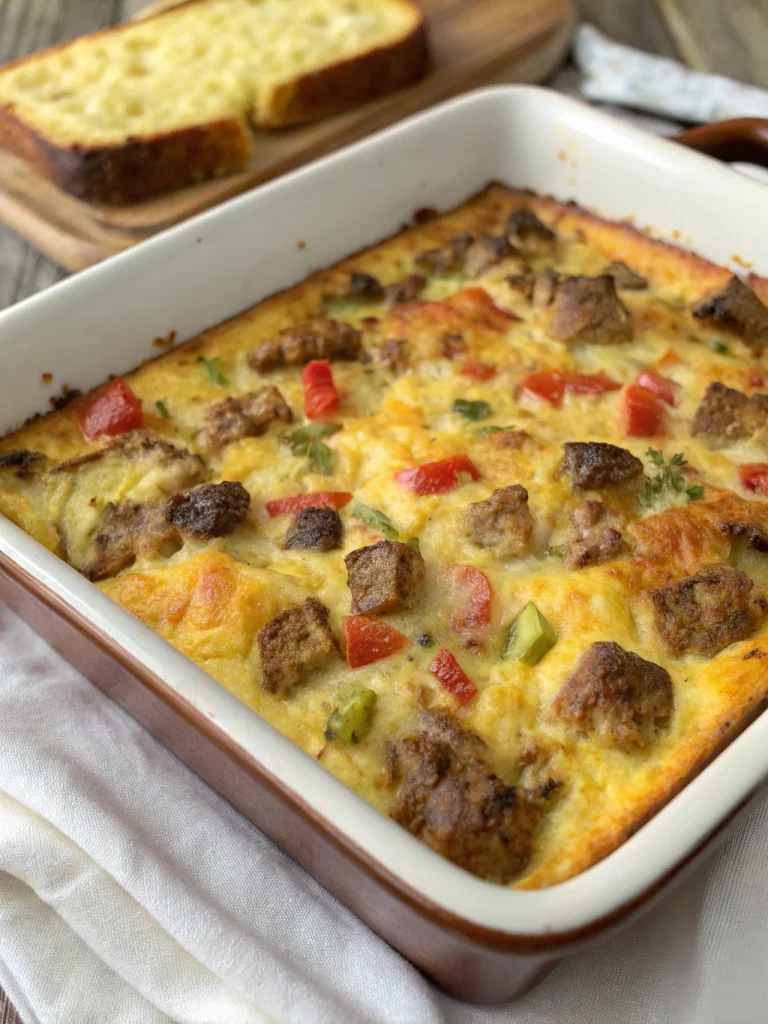
This hearty Quick Sausage Breakfast Casserole comes together in minutes but tastes like you spent all morning in the kitchen. Savory sausage, eggs and cheese create that perfect weekend breakfast feeling any day of the week.
Christmas Morning Cinnamon Rolls
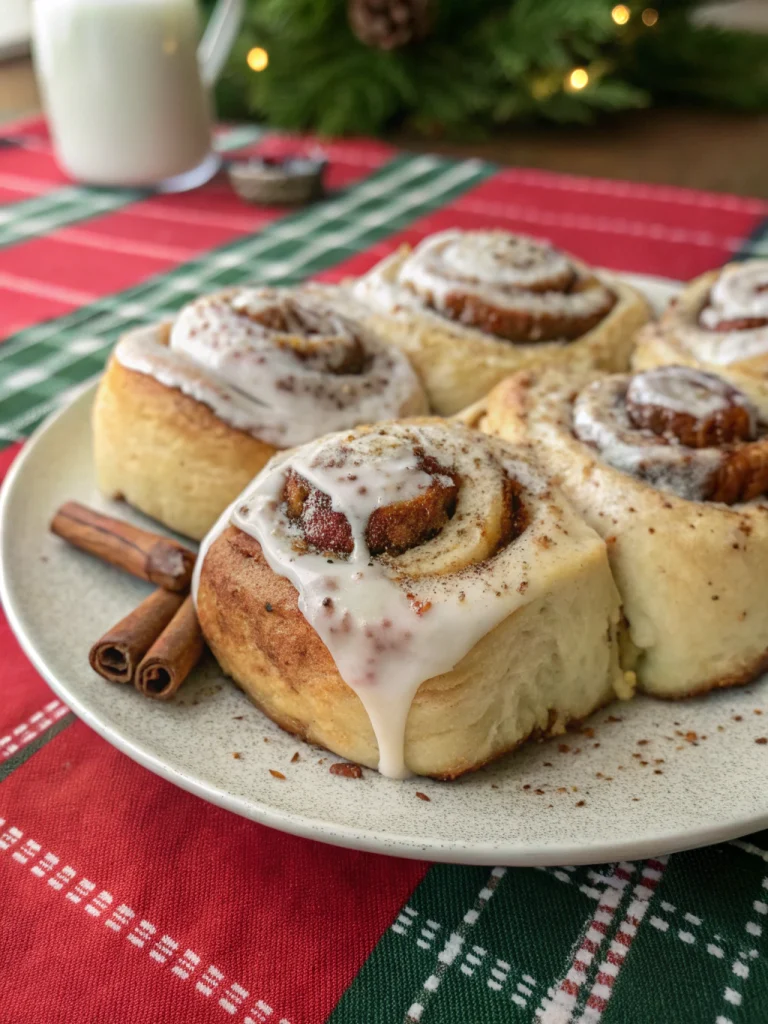
Soft, gooey, and spiced just right—these cinnamon rolls are a beloved holiday breakfast tradition.
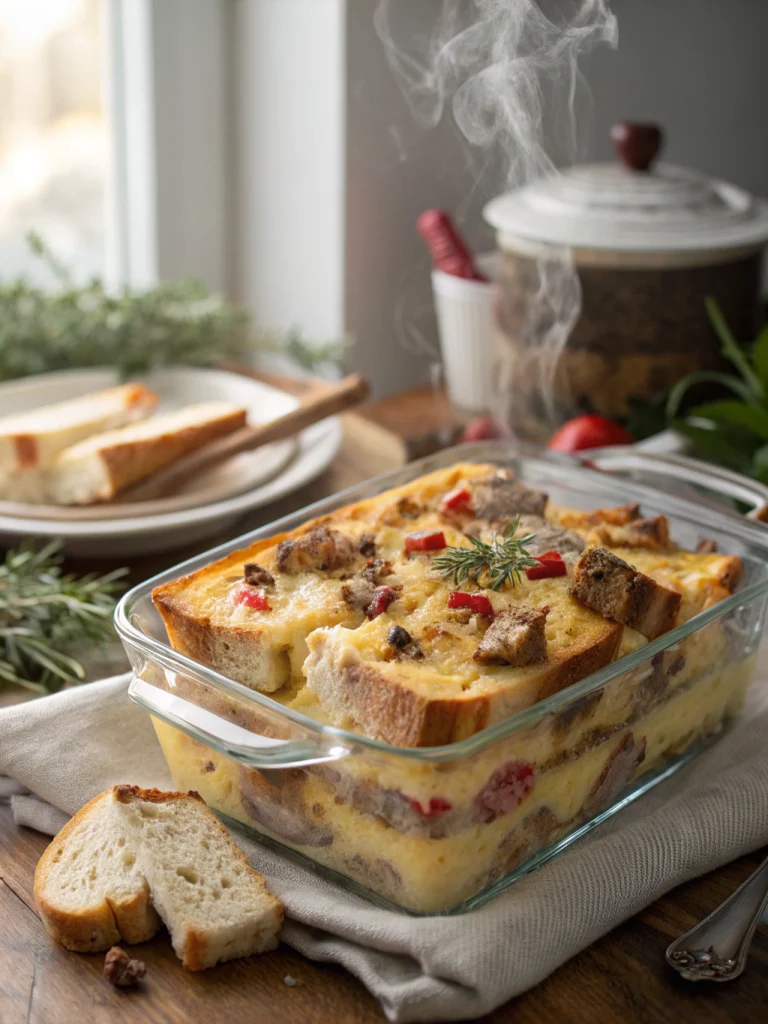
Sweet Bread Strata recipe
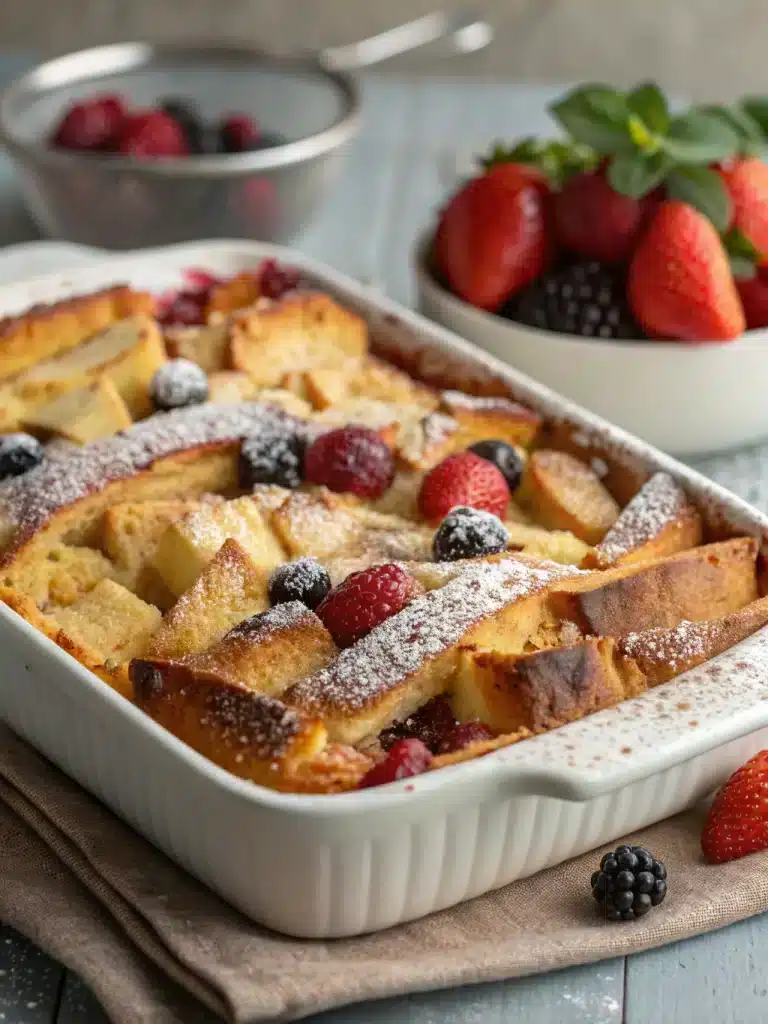
This sweet bread strata is the ultimate make-ahead breakfast treat—soft, custardy layers of bread and cinnamon with a golden top. Ideal for cozy mornings or holiday brunches.
Fluffy Cinnamon Roll Pancakes recipe
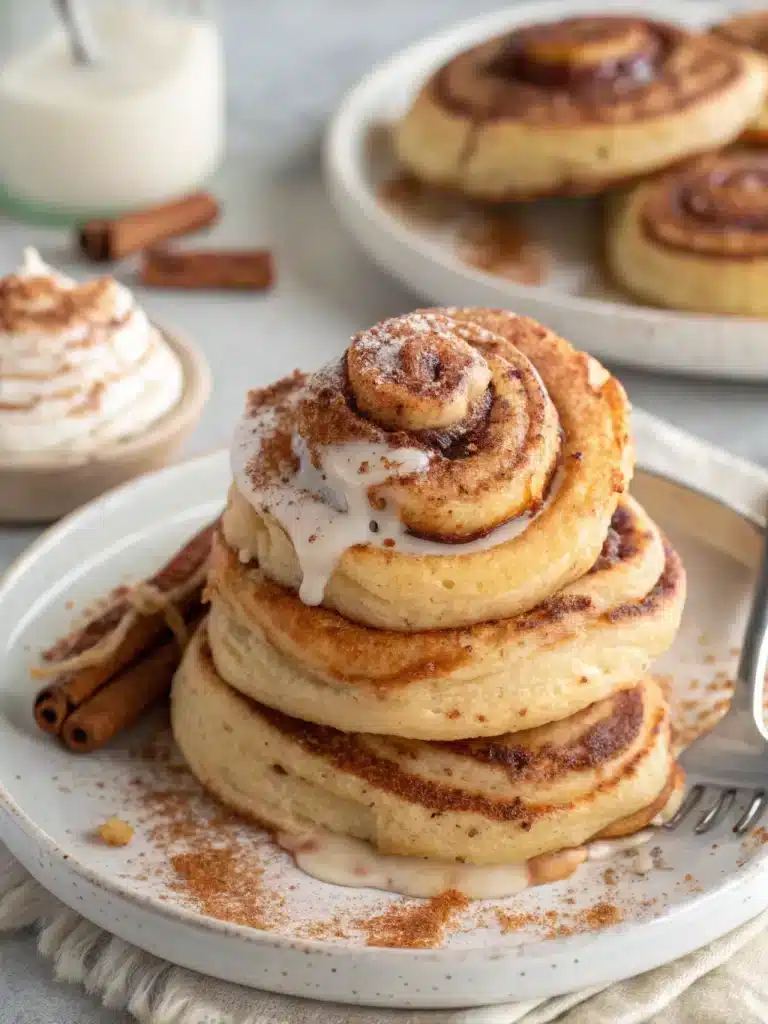
These Cinnamon Roll Pancakes are like having dessert for breakfast! With warm swirls of cinnamon and icing, they bring all the joy of a bakery morning into your own kitchen.