Natural Fly Repellent: The Lemon and Clove Trick

Introduction When summer arrives, we love eating outdoors — barbecues, picnics, garden lunches. But one annoying detail often ruins the moment: flies. They hover over food, land on fruit, and quickly become a nuisance. Fortunately, there’s a natural, effective, and visually satisfying trick: lemons studded with cloves. This simple DIY solution is not only harmless […]
Why Some People Throw a Match into the Toilet
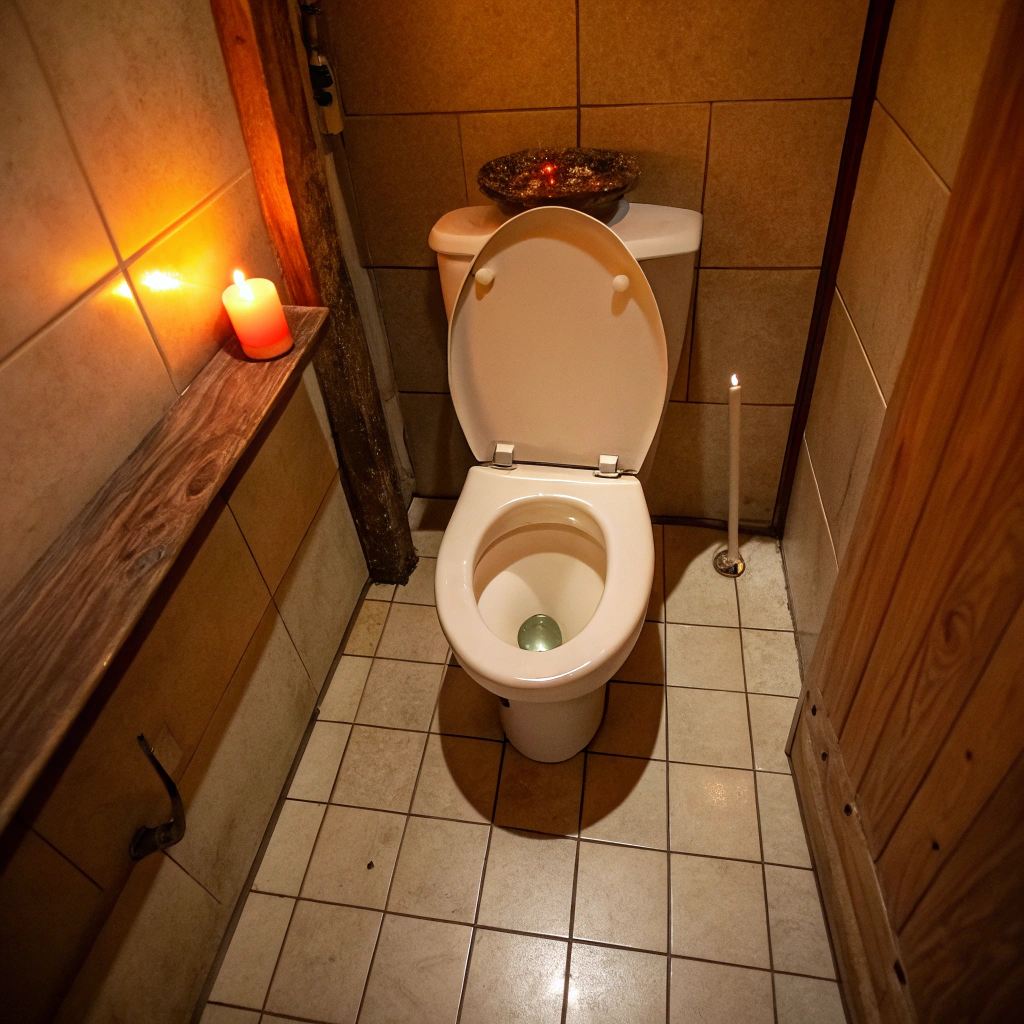
It might sound odd at first: why would anyone throw a match into a toilet bowl? While it may seem like a bizarre or pointless action, this trick has been passed down through generations — and it’s not just a myth. In fact, there’s a real chemical explanation behind it, and this simple gesture can […]
Got Limescale in the Toilet? Try This Surprising Natural Trick
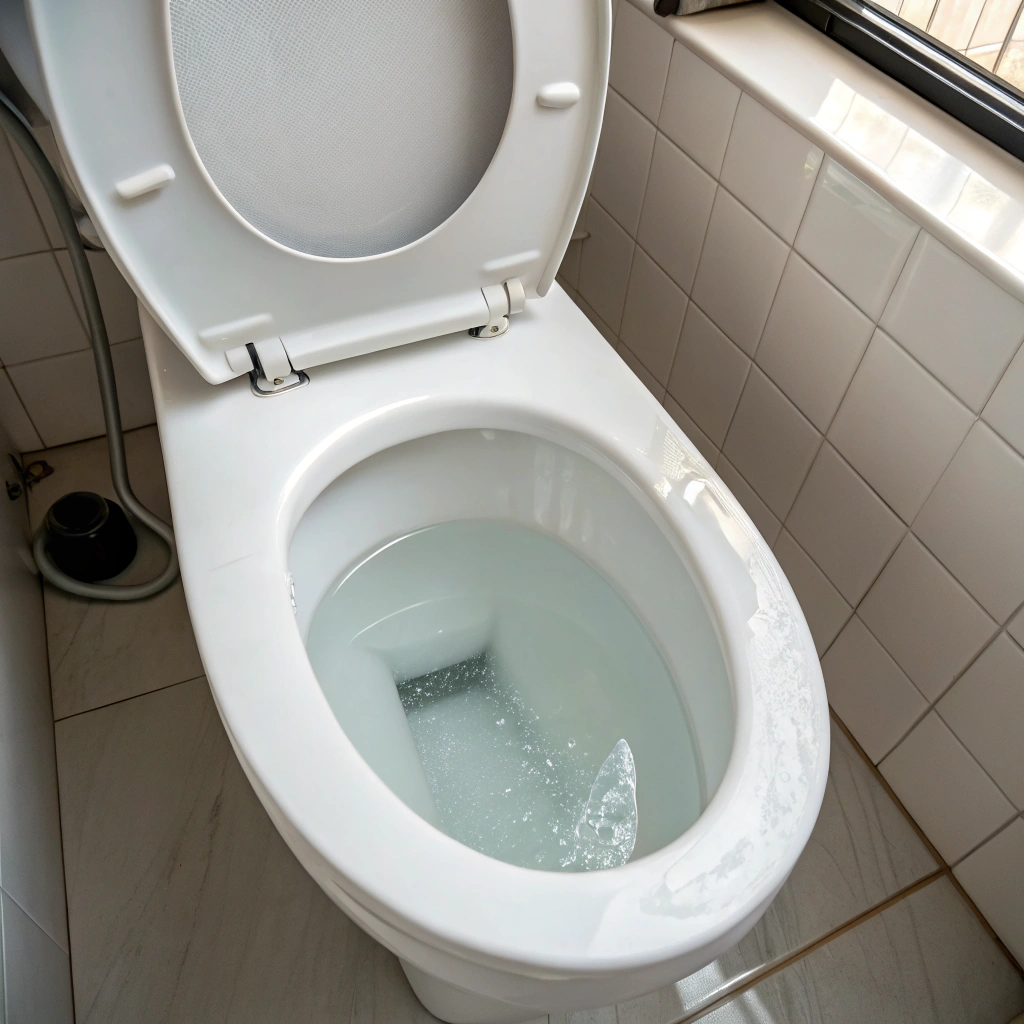
Did you know that a simple kitchen ingredient can work wonders against tough limescale stains in your toilet? Most people think they need strong (and expensive) chemical products to remove stubborn marks, but the truth is much simpler… and all-natural! This trick is perfect if you want to keep your toilet sparkling clean without polluting […]
Accidentally Left Food Out Overnight? Here’s How to Tell If It’s Still Safe
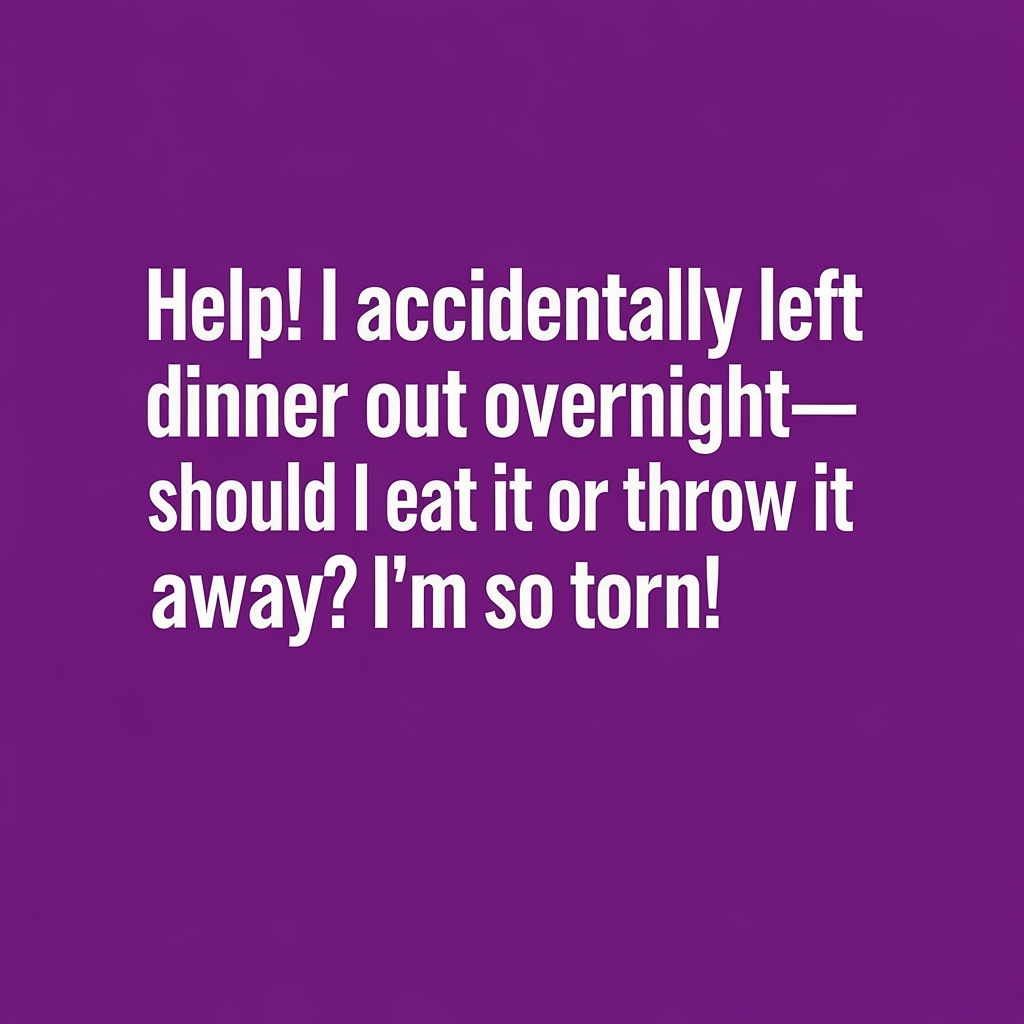
We’ve all been there – you make a delicious dinner, get distracted, and suddenly it’s morning and your food has been sitting out all night. Now you’re faced with the dilemma: is it safe to eat, or should you toss it? This common kitchen mishap doesn’t always mean your food is destined for the trash. […]
Your Refrigerator Making Strange Noises? Fix It Yourself Before Calling a Repairman

That sudden buzzing, clicking, or gurgling from your refrigerator can be alarming. Not only is it annoying, but those strange noises often make us worry about expensive repairs or even having to replace the appliance altogether. While some refrigerator problems do require professional attention, many common noise issues have simple DIY solutions that won’t cost […]
Grease Splatter on Your Favorite Shirt? This Dish Soap Method Works When Everything Else Failed
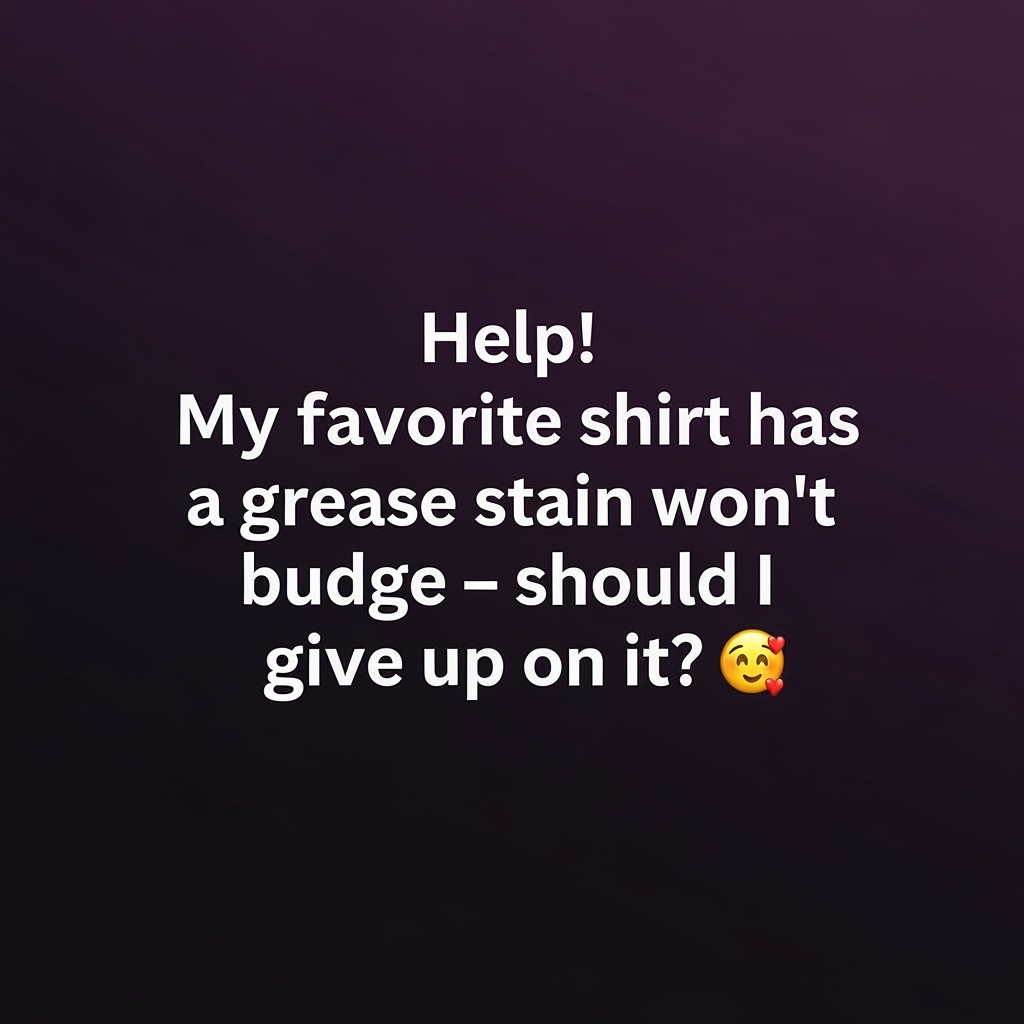
We’ve all been there—enjoying a delicious meal when suddenly, a rogue grease splatter lands right on your favorite shirt. Despite your best efforts with stain removers and laundry detergents, that stubborn grease spot refuses to budge. It’s especially frustrating when the shirt is one you love, and the thought of relegating it to “yard work […]
Roommate Never Buys Household Supplies? This Payment Tracking System Ends the Drama

Living with roommates can be a great way to save money and enjoy companionship, but it often comes with its share of challenges. Few issues create more tension than the dreaded household supplies situation—you know, when you’re always the one buying the toilet paper, dish soap, and cleaning products while your roommates conveniently “forget” it’s […]
Adult Child Moving Back Home? 5 Boundaries That Prevent Family Tension

Introduction When adult children move back home, what starts as a temporary arrangement to help them get on their feet can quickly turn into a source of family friction. Whether your child has returned due to financial hardship, a career transition, or a life change like divorce, many parents find themselves struggling to balance being […]
Fuzzy Spots on Cheese: When to Save It and When to Toss It (Food Safety Guide)
Introduction Opening the refrigerator to find fuzzy spots on your favorite cheese can be both disappointing and concerning. Is the entire block ruined? Could it make you sick? Many of us face this dilemma regularly, hesitating between salvaging our expensive cheese and protecting our health. The good news is that not all moldy cheese situations […]
Transform Bed Sheets into Elegant Curtains: Budget Decorating That Looks Expensive
Introduction Looking to refresh your home’s look without breaking the bank? Window treatments can cost hundreds of dollars, putting stylish curtains out of reach for many budget-conscious decorators. Meanwhile, you might have perfectly good bed sheets tucked away in your linen closet that rarely see use. This disconnect represents a missed opportunity – those forgotten […]