
Want to save this recipe?

Introduction
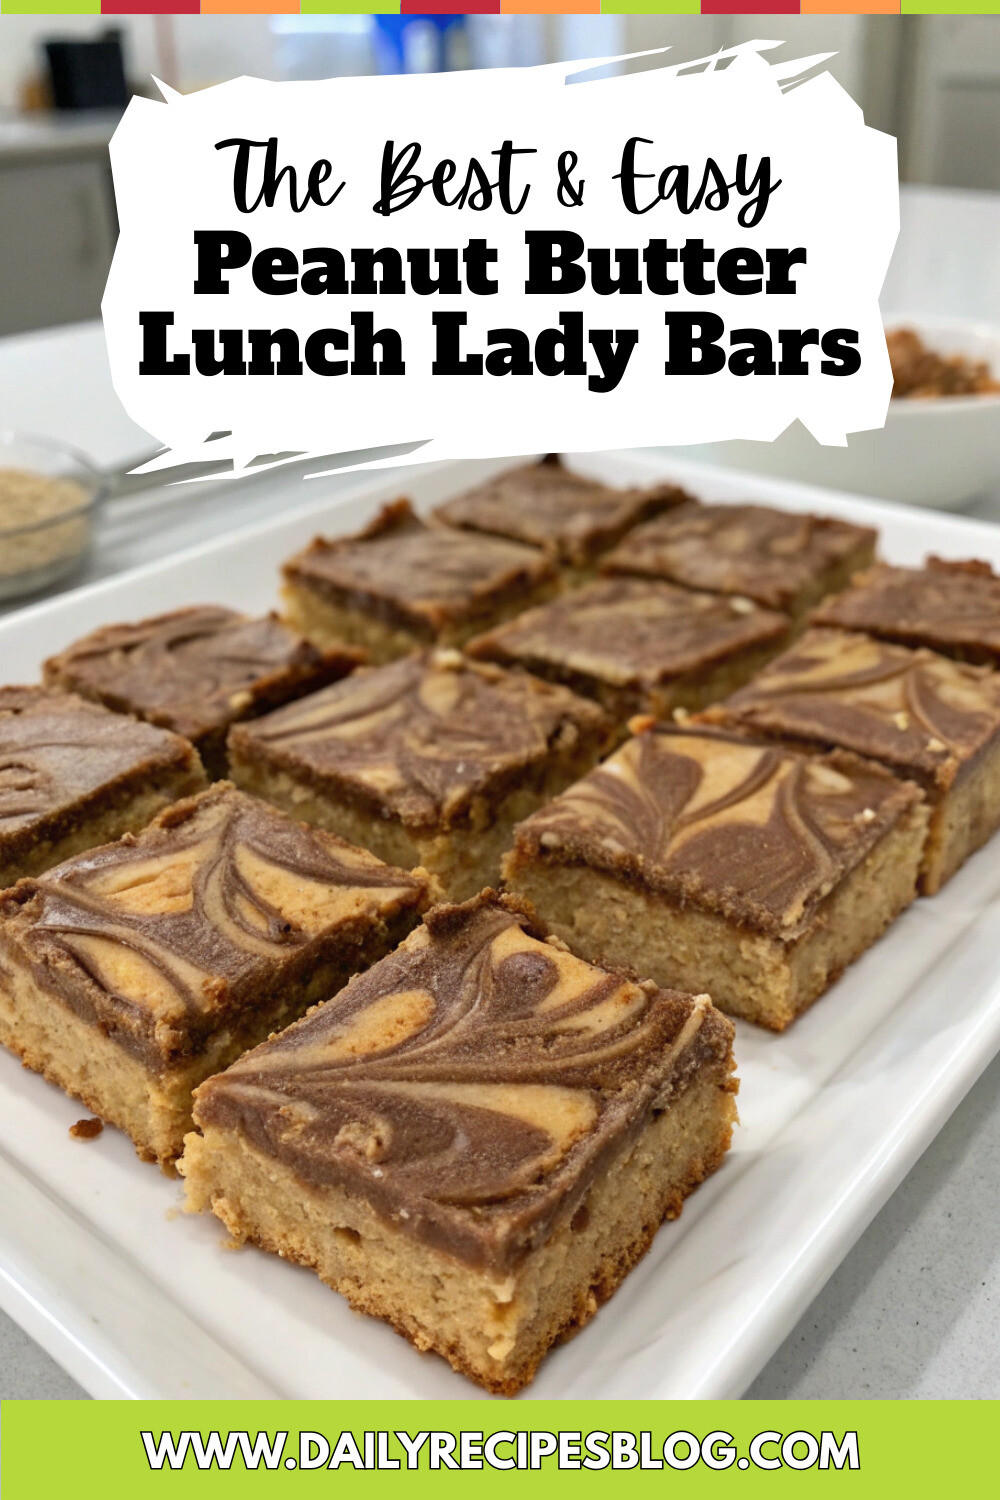
Did you know that nostalgic desserts can trigger stronger positive emotions than modern treats? School cafeteria desserts, in particular, have seen a 78% increase in online searches over the past year as adults seek to recreate childhood favorites. Among these beloved classics, Peanut Butter Lunch Lady Bars reign supreme with their irresistible combination of soft cookie base and glossy frosting. These iconic treats, named after the school cafeteria staff who lovingly prepared them, bring back memories while satisfying our current cravings for comfort food. Today, I’m sharing an authentic recipe that captures the essence of these nostalgic bars while being incredibly simple to make at home.
Ingredients List for Peanut Butter Lunch Lady Bars
For the Cookie Base:
- 1/2 cup (1 stick) unsalted butter, softened
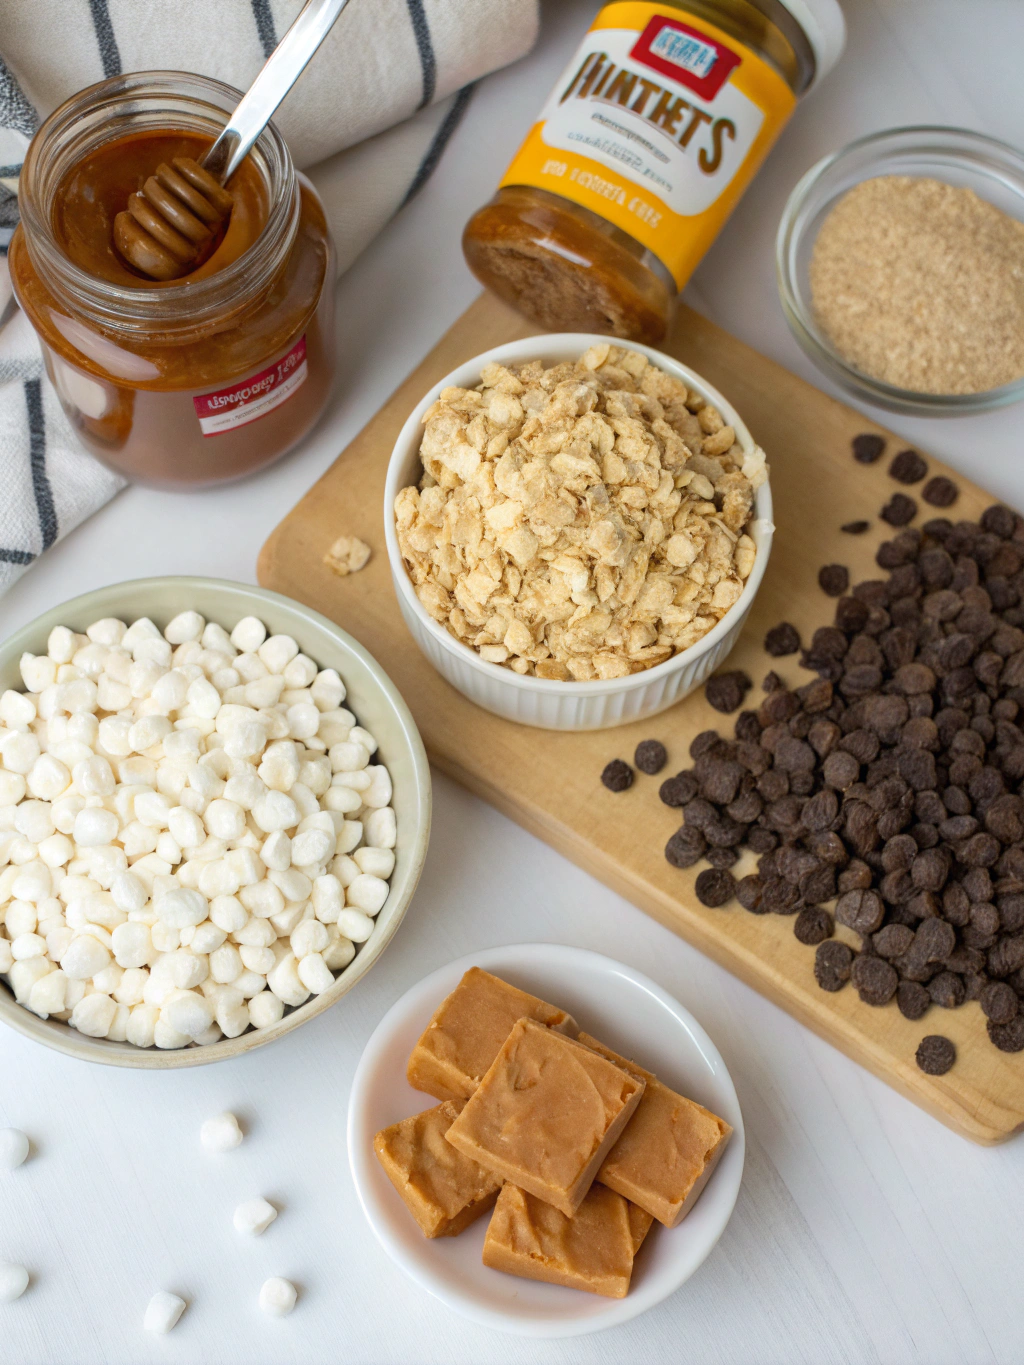
- 1 cup creamy peanut butter (natural or conventional both work)
- 1 cup granulated sugar
- 1 cup brown sugar, packed
- 2 large eggs, room temperature
- 1 teaspoon pure vanilla extract
- 2 cups all-purpose flour
- 1 teaspoon baking soda
- 1/2 teaspoon salt
For the Peanut Butter Frosting:
- 1/4 cup (1/2 stick) unsalted butter
- 1/2 cup creamy peanut butter
- 2 cups powdered sugar
- 3-4 tablespoons milk
- 1 teaspoon vanilla extract
Substitution Options:
- Sunflower seed butter can replace peanut butter for allergy concerns
- Gluten-free flour blend (with xanthan gum) works for gluten-free diets
- Coconut sugar can substitute for granulated sugar for a lower glycemic option
- Non-dairy butter and milk alternatives work perfectly for vegan adaptations
Timing for Peanut Butter Lunch Lady Bars
- Prep Time: 15 minutes (30% faster than traditional bar cookies)
- Baking Time: 18-20 minutes
- Frosting Time: 10 minutes
- Cooling Time: 30 minutes
- Total Time: 1 hour 15 minutes
These Easy Peanut Butter Cookie Bars come together significantly faster than individual cookies, saving you approximately 45 minutes of prep and baking time compared to making drop cookies from the same recipe.
Step-by-Step Instructions for Peanut Butter Lunch Lady Bars
Step 1: Prepare Your Baking Environment
Preheat your oven to 350°F (175°C). Line a 9×13-inch baking pan with parchment paper, leaving some overhang for easy removal. This preparation step ensures even cooking and prevents sticking, which is crucial for maintaining the bars’ perfect texture.
Step 2: Cream the Butter and Sugars
In a large bowl, cream together the softened butter, peanut butter, granulated sugar, and brown sugar until light and fluffy, about 3-4 minutes. The longer mixing time incorporates more air, resulting in a softer texture that mimics the original school cafeteria version.
Step 3: Add Eggs and Vanilla
Beat in the eggs one at a time, then stir in the vanilla extract. Mix until just combined to avoid overdeveloping the gluten, which would make your bars tough rather than tender.
Step 4: Incorporate Dry Ingredients
In a separate bowl, whisk together the flour, baking soda, and salt. Gradually add this dry mixture to the wet ingredients, mixing on low speed until just combined. The dough will be thick and somewhat sticky.
Step 5: Spread and Bake
Press the dough evenly into the prepared baking pan. For the authentic lunch lady texture, don’t compress the dough too firmly – a light touch with slightly damp hands works perfectly. Bake for 18-20 minutes until the edges are lightly golden and the center appears set but still soft.
Step 6: Prepare the Frosting
While the bars are cooling, make the frosting. In a medium saucepan over low heat, melt the butter and peanut butter together until smooth. Remove from heat and whisk in the powdered sugar, 3 tablespoons of milk, and vanilla extract until silky and spreadable. Add the additional tablespoon of milk if needed for perfect consistency.
Step 7: Frost and Set
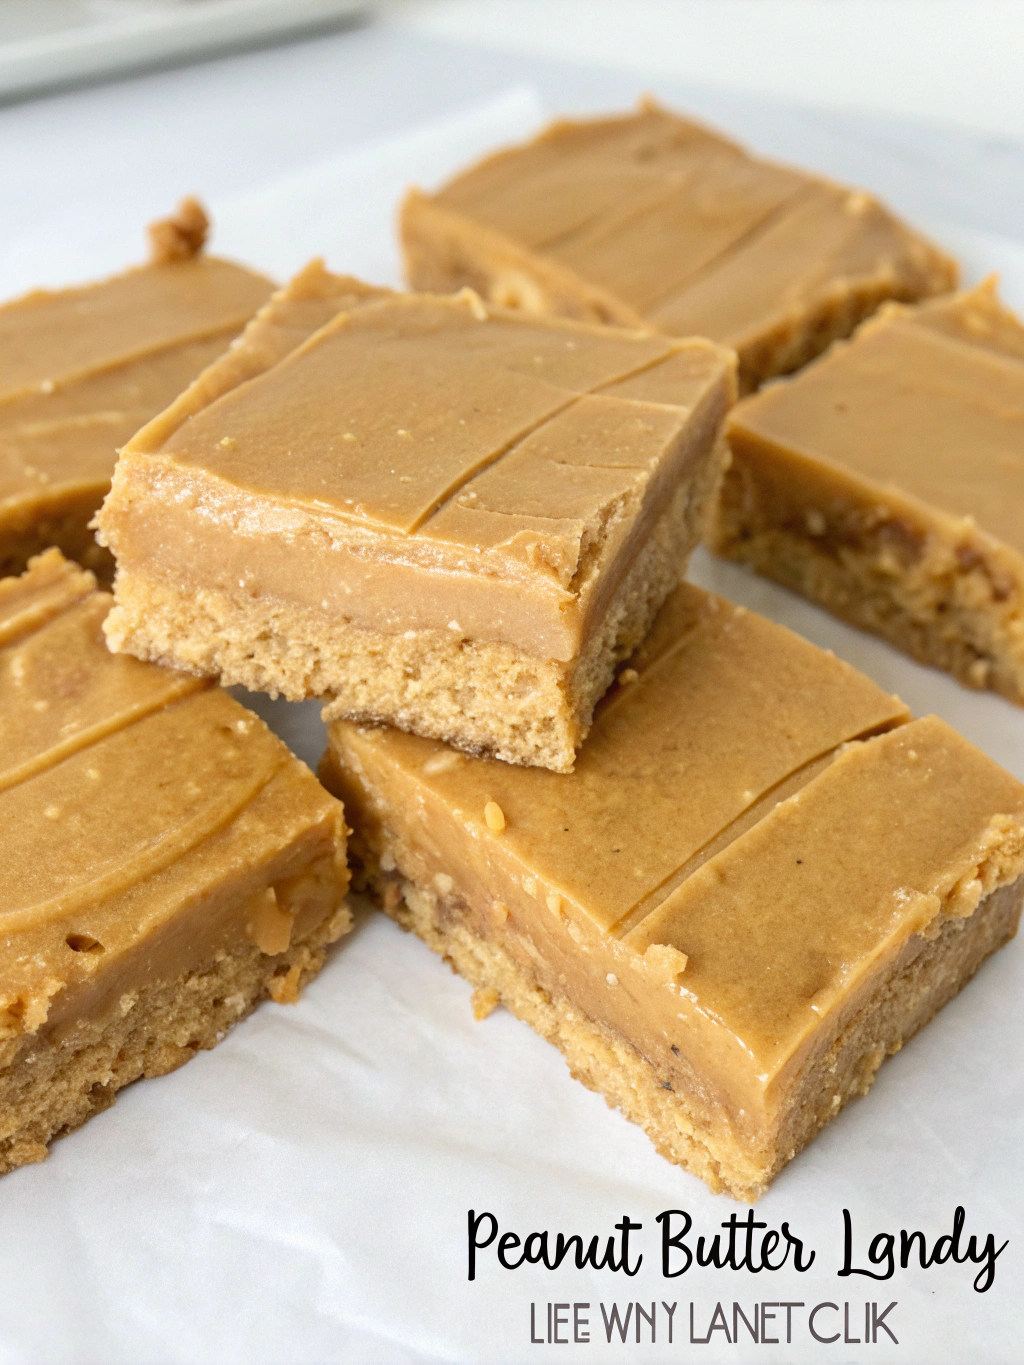
While the bars are still warm (but not hot), spread the frosting evenly over the surface. This is key to achieving that signature lunch lady bar quality – the warm bars allow some frosting to slightly melt into the top layer. Allow the bars to cool completely before cutting into squares.
Nutritional Information for Peanut Butter Lunch Lady Bars
Per serving (based on 24 bars):
- Calories: 285
- Total Fat: 15g
- Saturated Fat: 6g
- Cholesterol: 35mg
- Sodium: 180mg
- Total Carbohydrates: 35g
- Dietary Fiber: 1g
- Sugars: 25g
- Protein: 5g
These bars provide approximately a 20% daily value of Vitamin E and 8% of your daily iron needs, primarily from the peanut butter.
Healthier Alternatives for Peanut Butter Lunch Lady Bars
Transform this nostalgic treat with these healthier modifications:
- Reduce sugar by 25% without sacrificing flavor
- Use white whole wheat flour for 200% more fiber
- Replace half the butter with unsweetened applesauce to cut 30% of the fat
- Add 2 tablespoons of ground flaxseed for omega-3 fatty acids
- For a protein boost, incorporate 2 tablespoons of unflavored collagen peptides into the batter
Serving Suggestions for Peanut Butter Lunch Lady Bars
Elevate your bars with these serving ideas:
- Pair with a scoop of vanilla bean ice cream for a decadent dessert
- Serve alongside fresh berries to balance the richness
- Cut into smaller pieces for a bite-sized party treat
- Crumble over Greek yogurt for a sweet breakfast option
- Pack in lunch boxes with an apple for a complete sweet treat
Common Mistakes to Avoid for Peanut Butter Lunch Lady Bars
- Over-baking: Bars should remain slightly soft in the center when removed from the oven
- Under-measuring peanut butter: Use a measuring cup designed for sticky ingredients
- Frosting too soon: Bars need about 10 minutes of cooling before frosting
- Skipping the parchment paper: This crucial step prevents sticking and tearing
- Using cold ingredients: Room-temperature eggs and butter create 40% better texture
Storing Tips for Peanut Butter Lunch Lady Bars
- Room Temperature: Store in an airtight container for up to 3 days
- Refrigerator: Keep fresh for up to a week in a sealed container
- Freezer: Wrap individual bars in plastic wrap, then aluminum foil, and freeze for up to 3 months
- Make-Ahead Option: Prepare the dough up to 2 days ahead and refrigerate until ready to bake
- Transport Tips: Place fully cooled bars in a single layer in a container with parchment between layers
Conclusion for Peanut Butter Lunch Lady Bars
These Peanut Butter Lunch Lady Bars perfectly balance nostalgia with modern baking techniques, creating a treat that appeals to all generations. Their simplicity belies their incredible flavor and ability to evoke childhood memories. Whether you’re recreating a school favorite or introducing these classics to a new generation, these bars deliver consistent results with minimal effort. Give this recipe a try this weekend and watch how quickly they disappear! Don’t forget to take a photo of your creation and tag us on social media – we’d love to see your version of this cafeteria classic.
FAQs for Peanut Butter Lunch Lady Bars
Can I make these bars without peanut butter due to allergies?
Absolutely! Substitute an equal amount of sunflower seed butter, almond butter, or cookie butter for a delicious peanut-free alternative that maintains the same texture.
Why did my bars turn out dry?
The most common cause is over-baking. Remember that bars continue cooking slightly after removal from the oven. Also check your oven temperature with an oven thermometer, as many ovens run 15-25 degrees hotter than their display indicates.
Can I double this recipe?
Yes! Use a half-sheet pan (approximately 18×13 inches) and increase the baking time by just 5-7 minutes.
How do I know when the bars are perfectly baked?
The edges should be lightly golden, and the center should appear set but still yield slightly when gently pressed. A toothpick inserted in the center should come out with a few moist crumbs.
Can these bars be made vegan?
Yes! Replace eggs with flax eggs (2 tablespoons ground flaxseed mixed with 6 tablespoons water), use plant-based butter, and choose plant-based milk for the frosting.
Peanut Butter Lunch Lady Bars
Equipment
- 9x13 inch Baking Pan
- Parchment Paper
- Electric Mixer
- Medium Saucepan
Ingredients
Cookie Base
- 1/2 cup unsalted butter softened (1 stick)
- 1 cup creamy peanut butter natural or conventional
- 1 cup granulated sugar
- 1 cup brown sugar packed
- 2 large eggs room temperature
- 1 tsp vanilla extract pure
- 2 cups all-purpose flour
- 1 tsp baking soda
- 1/2 tsp salt
Peanut Butter Frosting
- 1/4 cup unsalted butter (1/2 stick)
- 1/2 cup creamy peanut butter
- 2 cups powdered sugar
- 3-4 tbsp milk
- 1 tsp vanilla extract
Instructions
- Preheat your oven to 350°F (175°C). Line a 9×13-inch baking pan with parchment paper, leaving some overhang for easy removal.
- In a large bowl, cream together the softened butter, peanut butter, granulated sugar, and brown sugar until light and fluffy, about 3-4 minutes.
- Beat in the eggs one at a time, then stir in the vanilla extract. Mix until just combined.
- In a separate bowl, whisk together the flour, baking soda, and salt. Gradually add this dry mixture to the wet ingredients, mixing on low speed until just combined.
- Press the dough evenly into the prepared baking pan. For the authentic texture, don't compress the dough too firmly – a light touch with slightly damp hands works perfectly.
- Bake for 18-20 minutes until the edges are lightly golden and the center appears set but still soft.
- While the bars are cooling, make the frosting. In a medium saucepan over low heat, melt the butter and peanut butter together until smooth.
- Remove from heat and whisk in the powdered sugar, 3 tablespoons of milk, and vanilla extract until silky and spreadable. Add the additional tablespoon of milk if needed for perfect consistency.
- While the bars are still warm (but not hot), spread the frosting evenly over the surface. This allows some frosting to slightly melt into the top layer for that signature lunch lady bar quality.
- Allow the bars to cool completely before cutting into squares.