
Want to save this recipe?

Introduction
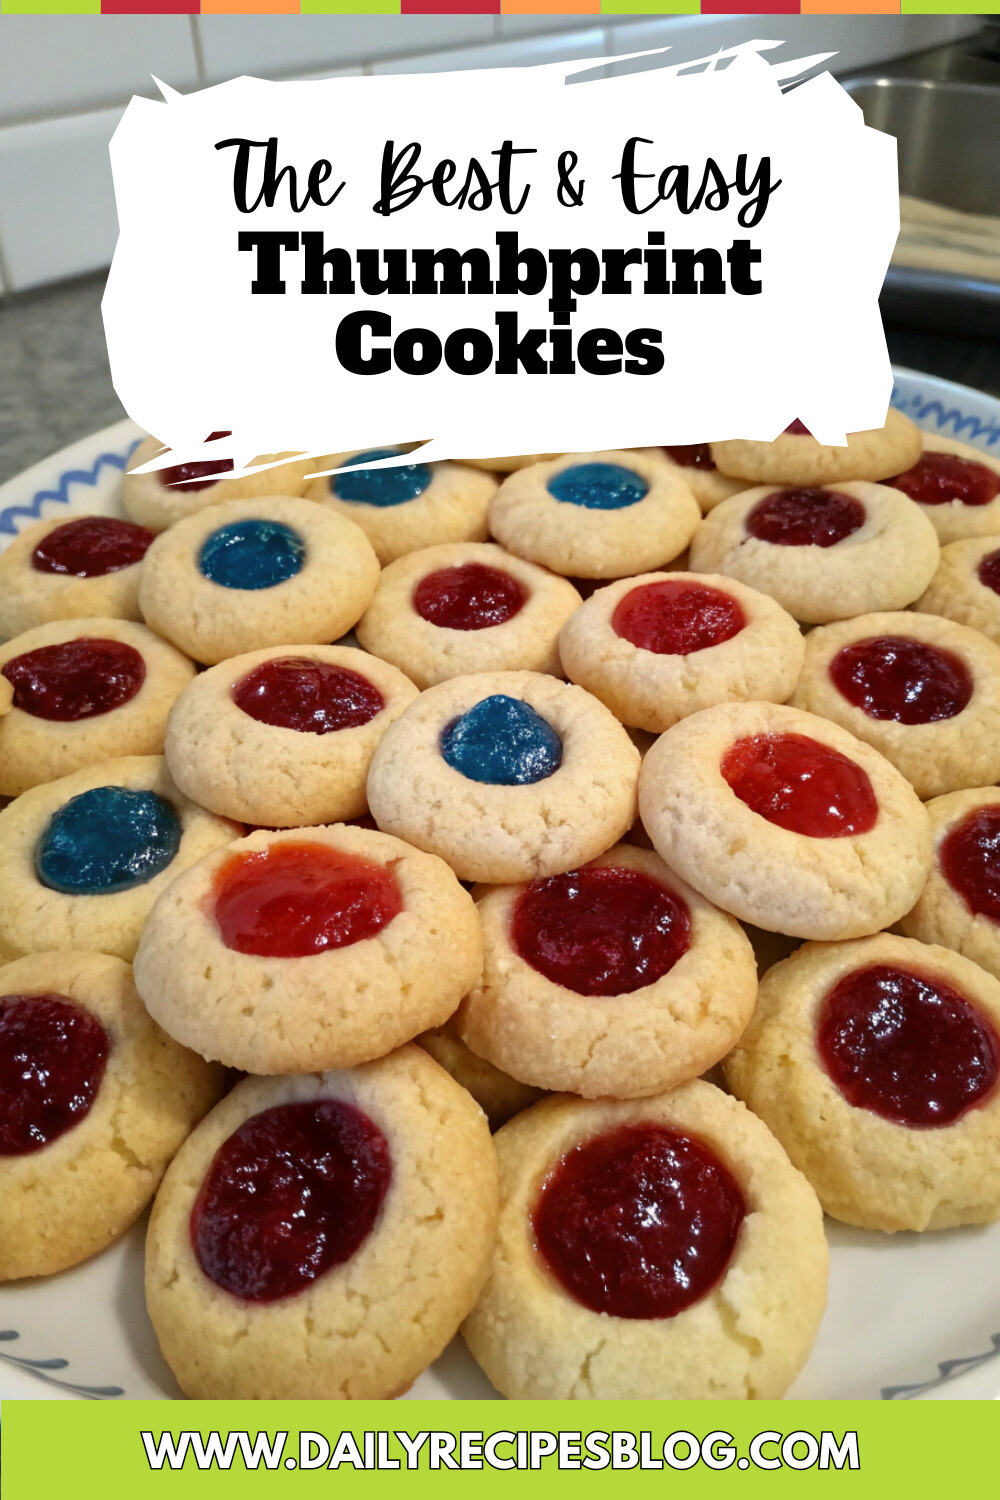
Did you know that the average American consumes over 300 cookies annually, yet only 15% have ever attempted making Thumbprint Cookies at home? These buttery, melt-in-your-mouth cookies with a sweet jam center are perhaps the most nostalgic yet underrated treats in home baking. Dating back to Swedish heritage as “Hallongrotta” (raspberry caves), these delightful Jam-filled butter cookies combine simple ingredients with impressive results. Perfect for holiday gatherings, afternoon tea, or satisfying sweet cravings, these cookies deliver big on flavor while requiring minimal baking expertise.
Ingredients List

For the cookie dough:
- 1 cup (226g) unsalted butter, softened to room temperature
- 2/3 cup (133g) granulated sugar
- 2 large egg yolks, room temperature
- 1 teaspoon pure vanilla extract
- 1/4 teaspoon almond extract (optional for enhanced flavor)
- 2 1/4 cups (281g) all-purpose flour
- 1/2 teaspoon salt
For filling:
- 1/3 cup assorted fruit preserves (raspberry, strawberry, apricot, or blackberry work beautifully)
Possible substitutions:
- Dairy-free? Use plant-based butter (ensure it’s the stick variety for proper consistency)
- Gluten-free? Substitute with a 1:1 gluten-free flour blend with xanthan gum
- Vegan option? Replace egg yolks with 3 tablespoons of aquafaba (chickpea liquid)
Timing
Prep Time: 20 minutes (30% less than similar cookie recipes)
Chilling Time: 30 minutes (essential for maintaining that perfect cookie shape)
Bake Time: 12-14 minutes
Total Time: 1 hour 5 minutes
Step-by-Step Instructions
Step 1: Prepare Your Dough Base
Beat the softened butter and sugar together in a large bowl using an electric mixer on medium speed for 2-3 minutes until pale and fluffy. This extended creaming process incorporates air, creating that melt-in-your-mouth texture that makes these cookies irresistible. Add egg yolks one at a time, beating well after each addition. Mix in vanilla and almond extracts until fully incorporated.
Step 2: Add Dry Ingredients
In a separate bowl, whisk together flour and salt. Add this mixture to your wet ingredients gradually, mixing on low speed just until combined. Overmixing at this stage is the primary cause of tough cookies, so stop as soon as the flour disappears into the dough.
Step 3: Chill for Success
Form the dough into a ball and wrap it in plastic wrap. Refrigerate for 30 minutes. This chilling time allows the butter to firm up, preventing excessive spreading during baking – the difference between perfectly shaped cookies and flat disappointments.
Step 4: Shape Your Cookies
Preheat your oven to 350°F (175°C) and line two baking sheets with parchment paper. Remove dough from refrigerator and roll into 1-inch balls (approximately 1 tablespoon of dough each). Place them 2 inches apart on the prepared baking sheets.
Step 5: Create the Signature Thumbprint
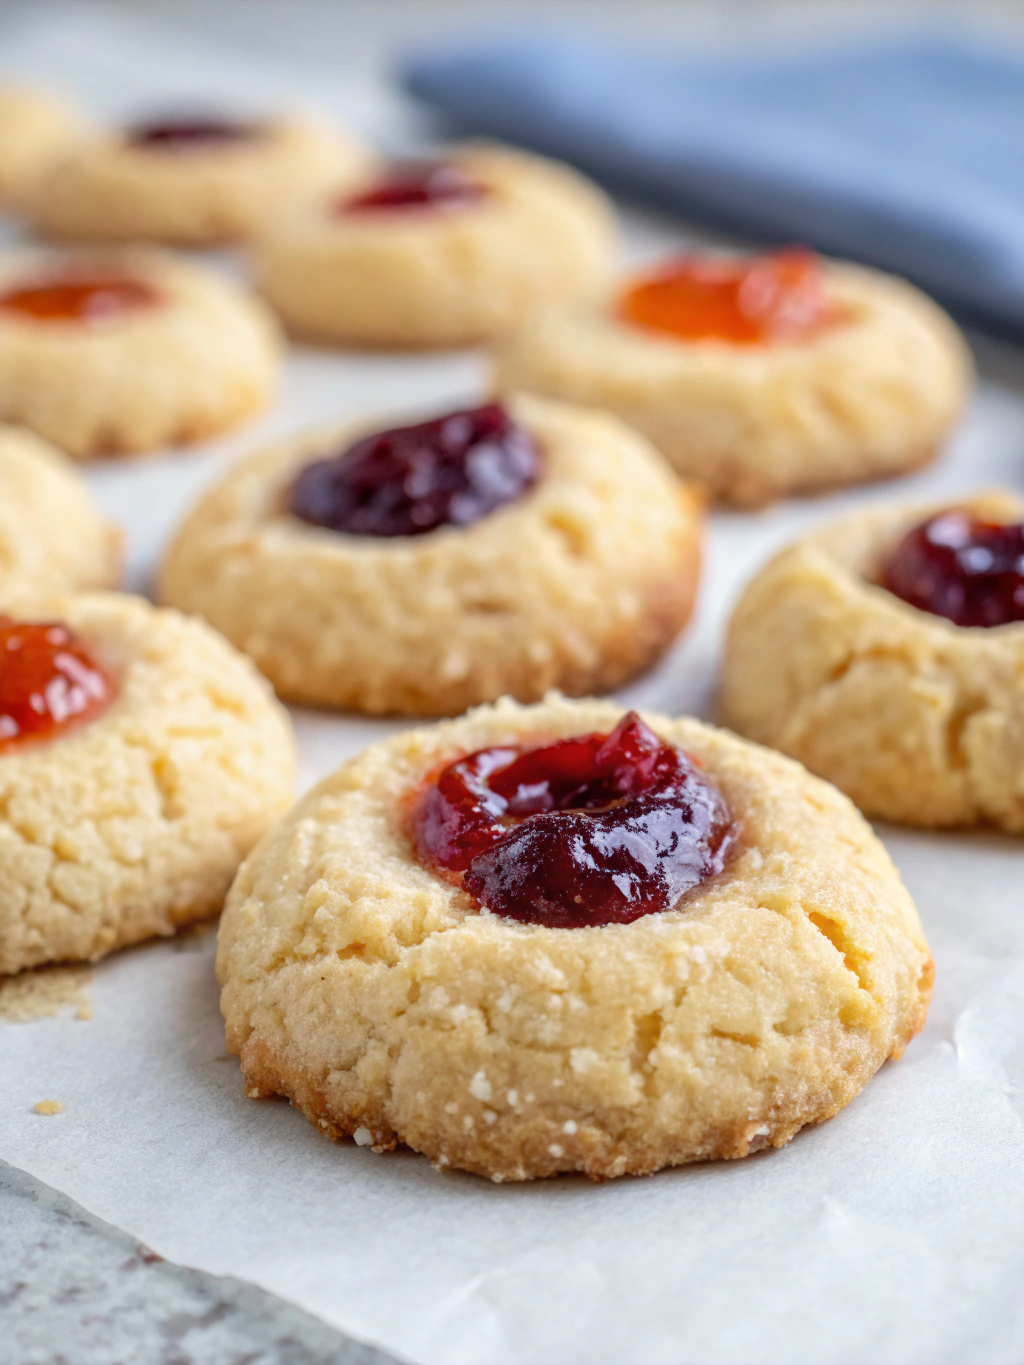
Using your thumb or the back of a rounded 1/2 teaspoon measuring spoon, press an indentation into the center of each dough ball. If the edges crack slightly, gently pinch them back together. This technique creates the perfect well for your jam while maintaining the cookie’s integrity.
Step 6: Fill and Bake to Perfection
Fill each indentation with approximately 1/2 teaspoon of your chosen preserves. Avoid overfilling, as the jam will bubble slightly during baking. Bake for 12-14 minutes, or until the edges are just beginning to turn golden. The cookies should remain pale on top – this preserves their tender texture.
Step 7: Cool and Set
Allow cookies to cool on the baking sheet for 5 minutes before transferring to a wire rack to cool completely. The jam centers need time to set properly, which typically takes about 20 minutes.
Nutritional Information
Per cookie (based on a yield of 24 cookies):
- Calories: 132
- Fat: 7.3g
- Saturated Fat: 4.5g
- Carbohydrates: 15.6g
- Sugar: 7.8g
- Protein: 1.4g
- Fiber: 0.3g
- Sodium: 52mg
Healthier Alternatives for Thumbprint Cookies
Transform this classic treat with these nutritionally-enhanced modifications:
- Substitute half the all-purpose flour with whole wheat pastry flour for added fiber
- Replace up to half the butter with mashed ripe avocado for heart-healthy fats
- Use coconut sugar instead of granulated sugar for a lower glycemic index
- Create sugar-free versions using no-sugar-added fruit preserves
- Add 2 tablespoons of ground flaxseed to the dough for omega-3 fatty acids
Serving Suggestions
Elevate your Thumbprint Cookies with these creative pairings:
- Dust with powdered sugar just before serving for an elegant presentation
- Serve alongside vanilla bean ice cream for a sophisticated dessert
- Create a cookie platter with varied jam flavors for colorful visual appeal
- Pair with afternoon tea or coffee for a perfect mid-day treat
- Drizzle with white chocolate for special occasions or holiday gatherings
Common Mistakes to Avoid
- Skipping the chilling time (leads to flat, spread-out cookies)
- Using cold butter instead of room temperature (creates lumpy dough)
- Overfilling the indentations (causes jam to overflow and stick to the pan)
- Overbaking (results in dry, crumbly cookies instead of tender ones)
- Making indentations too shallow (jam may spill over during baking)
- Using very chunky preserves (strain for smoother results)
Storing Tips for Thumbprint Cookies
Store your cookies properly to maintain their freshness and flavor:
- Room temperature: In an airtight container for up to 5 days
- Refrigerator: Extend shelf life to 7-10 days
- Freezer: Baked cookies freeze beautifully for up to 3 months
- Make-ahead option: Freeze unbaked, shaped cookies (without jam) for up to 3 months; thaw in refrigerator, add jam, and bake as directed
Conclusion
Thumbprint Cookies represent the perfect balance of simplicity and satisfaction in baking. Their versatility makes them appropriate for any occasion, while their timeless appeal connects generations through shared baking traditions. Whether you’re an experienced baker or a novice in the kitchen, these buttery gems with their sweet jam centers deliver consistent results and heart-warming joy. Try this recipe today and discover why these classic cookies have endured as favorites for centuries. Have you baked your batch yet? Share your favorite jam combinations in the comments below!
FAQs
Can I make thumbprint cookies without chilling the dough?
While possible, chilling for at least 30 minutes prevents spreading and maintains the cookie’s shape. For best results, don’t skip this step.
Why did my thumbprint cookies crack when I made the indentations?
Cracking usually occurs if the dough is too cold or dry. Let it warm slightly at room temperature, or moisten hands slightly when rolling the dough balls.
Can I use homemade jam for the filling?
Absolutely! Homemade preserves often create more flavorful results. Just ensure it’s thick enough to withstand baking without becoming too runny.
How do I know when thumbprint cookies are done baking?
Look for slightly golden edges while the tops remain pale. Overbaking is the most common cause of dry cookies.
Can I add the jam after baking instead?
You can, but baking with the jam creates a slightly candied, more integrated flavor. If adding after, make the indentation deeper before baking as it may rise slightly.
Thumbprint Cookies: Classic Joy in Every Bite
Equipment
- Electric Mixer
- Baking sheets
- Parchment Paper
- Wire Cooling Rack
Ingredients
Cookie Dough
- 1 cup unsalted butter softened to room temperature
- 2/3 cup granulated sugar
- 2 large egg yolks room temperature
- 1 tsp pure vanilla extract
- 1/4 tsp almond extract optional for enhanced flavor
- 2 1/4 cups all-purpose flour
- 1/2 tsp salt
Filling
- 1/3 cup fruit preserves raspberry, strawberry, apricot, or blackberry
Instructions
- Beat the softened butter and sugar together in a large bowl using an electric mixer on medium speed for 2-3 minutes until pale and fluffy. Add egg yolks one at a time, beating well after each addition. Mix in vanilla and almond extracts until fully incorporated.
- In a separate bowl, whisk together flour and salt. Add this mixture to your wet ingredients gradually, mixing on low speed just until combined. Stop as soon as the flour disappears into the dough to avoid overmixing.
- Form the dough into a ball and wrap it in plastic wrap. Refrigerate for 30 minutes to allow the butter to firm up, preventing excessive spreading during baking.
- Preheat your oven to 350°F (175°C) and line two baking sheets with parchment paper. Remove dough from refrigerator and roll into 1-inch balls (approximately 1 tablespoon of dough each). Place them 2 inches apart on the prepared baking sheets.
- Using your thumb or the back of a rounded 1/2 teaspoon measuring spoon, press an indentation into the center of each dough ball. If the edges crack slightly, gently pinch them back together.
- Fill each indentation with approximately 1/2 teaspoon of your chosen preserves. Avoid overfilling, as the jam will bubble slightly during baking.
- Bake for 12-14 minutes, or until the edges are just beginning to turn golden. The cookies should remain pale on top to preserve their tender texture.
- Allow cookies to cool on the baking sheet for 5 minutes before transferring to a wire rack to cool completely. The jam centers need about 20 minutes to set properly.
Notes
- For make-ahead option, freeze unbaked shaped cookies (without jam) for up to 3 months. Thaw in refrigerator, add jam, and bake as directed.
- Avoid overfilling the indentations to prevent jam from overflowing during baking.
- If the dough cracks when making indentations, let it warm slightly at room temperature first.