Fried Potatoes Onions and Smoked Polish Sausage
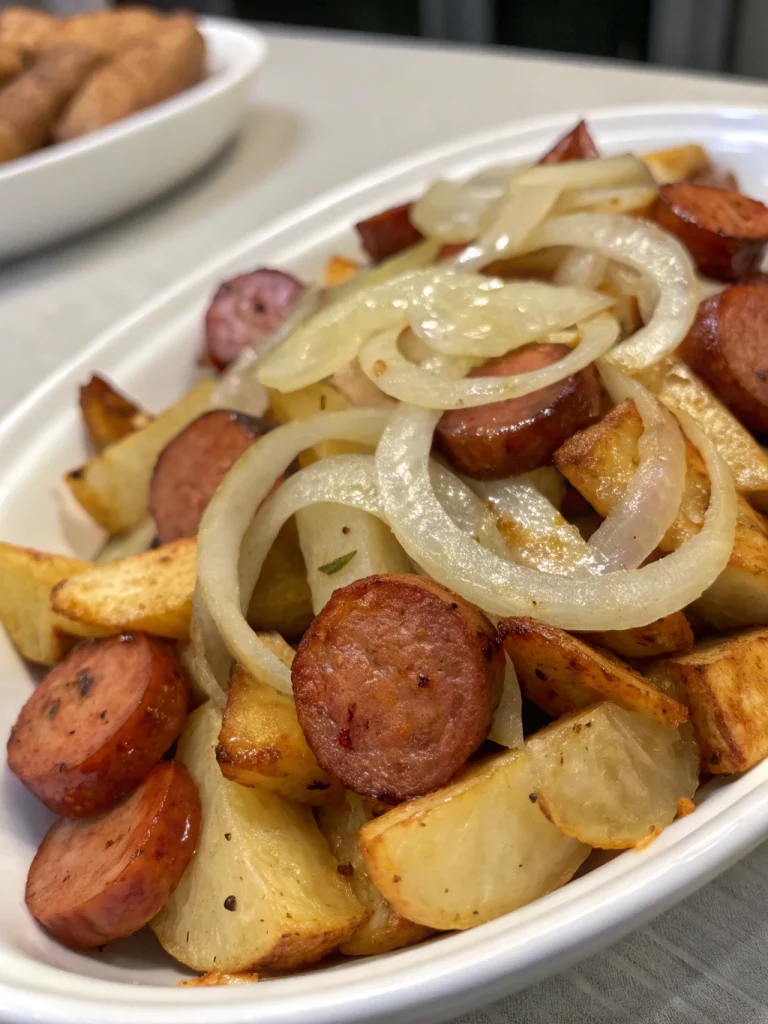
Hearty skillet of crispy potatoes, caramelized onions, and smoky sausage—comfort food in under 30 minutes.
Teriyaki Chicken and Rice Casserole
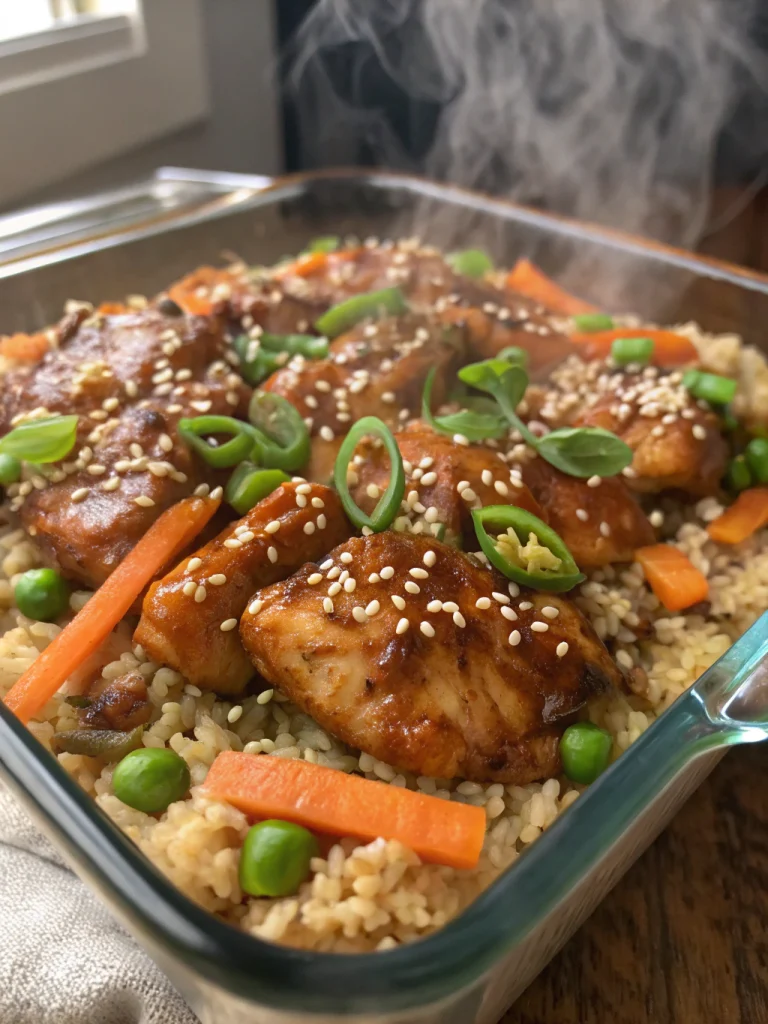
Sweet-savory teriyaki sauce bakes with chicken, rice, and veggies for an all-in-one Asian-inspired comfort.
Cream Cheese Chicken Enchiladas
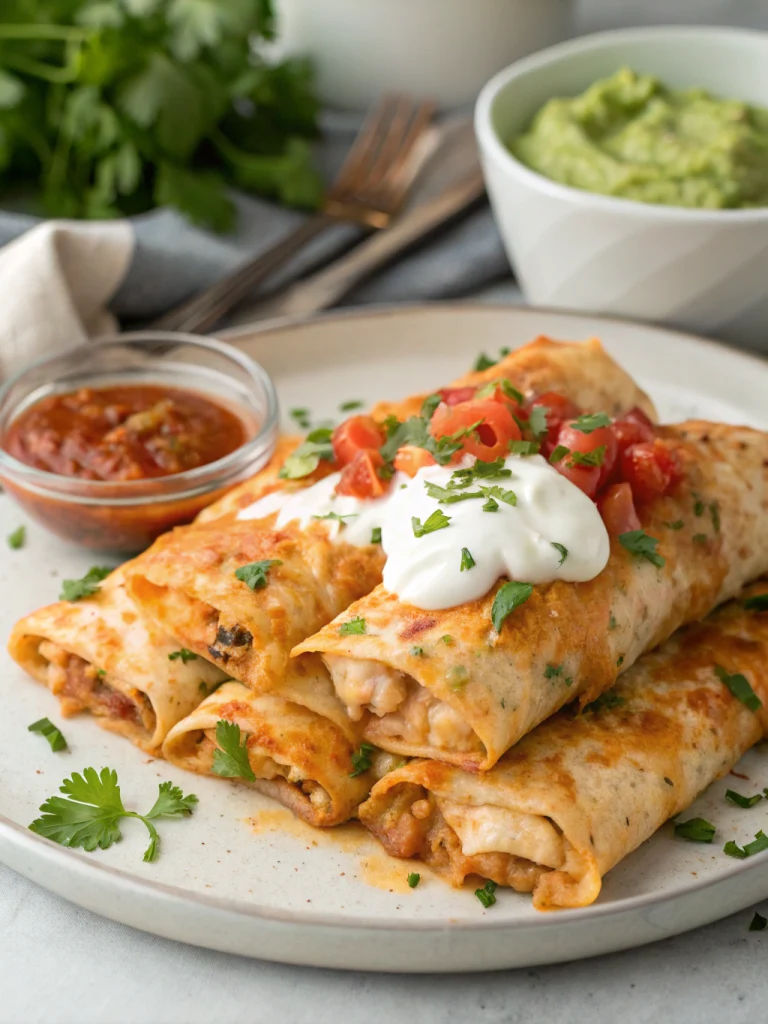
Shredded chicken rolled in tortillas, smothered in a velvety cream cheese sauce, and baked until bubbly.
Italian Sausage Pasta

Hearty Italian sausage, peppers, and a rich tomato sauce hug al dente pasta for an instant weeknight classic.
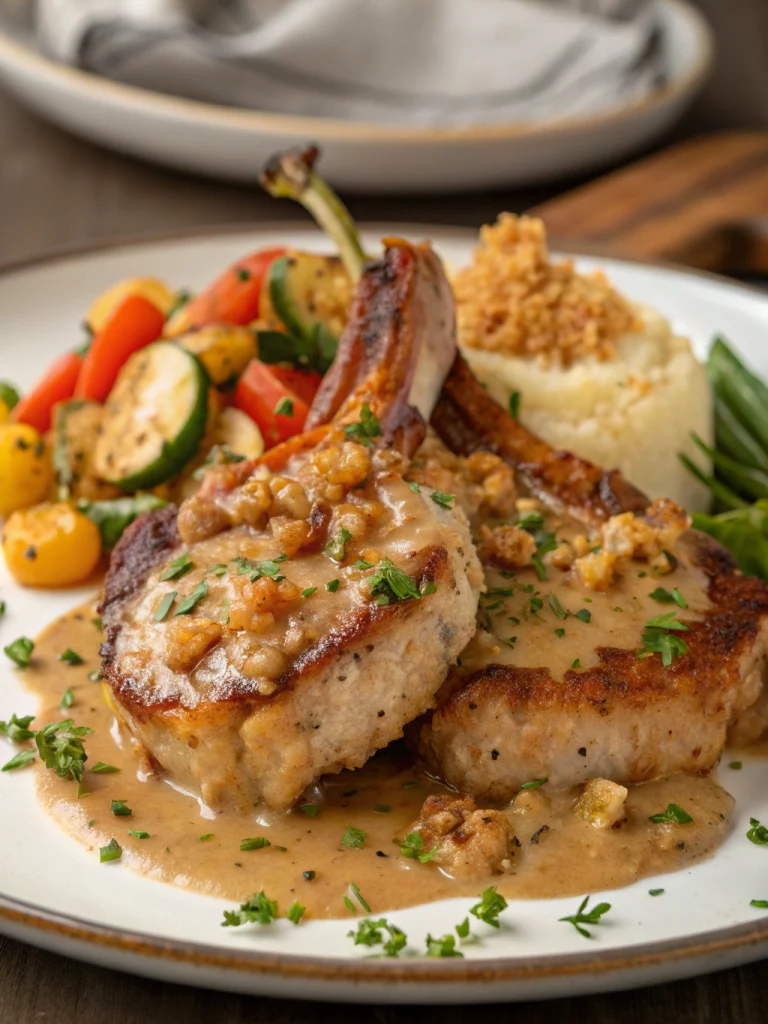
Melt-In-Your-Mouth Pork Chops
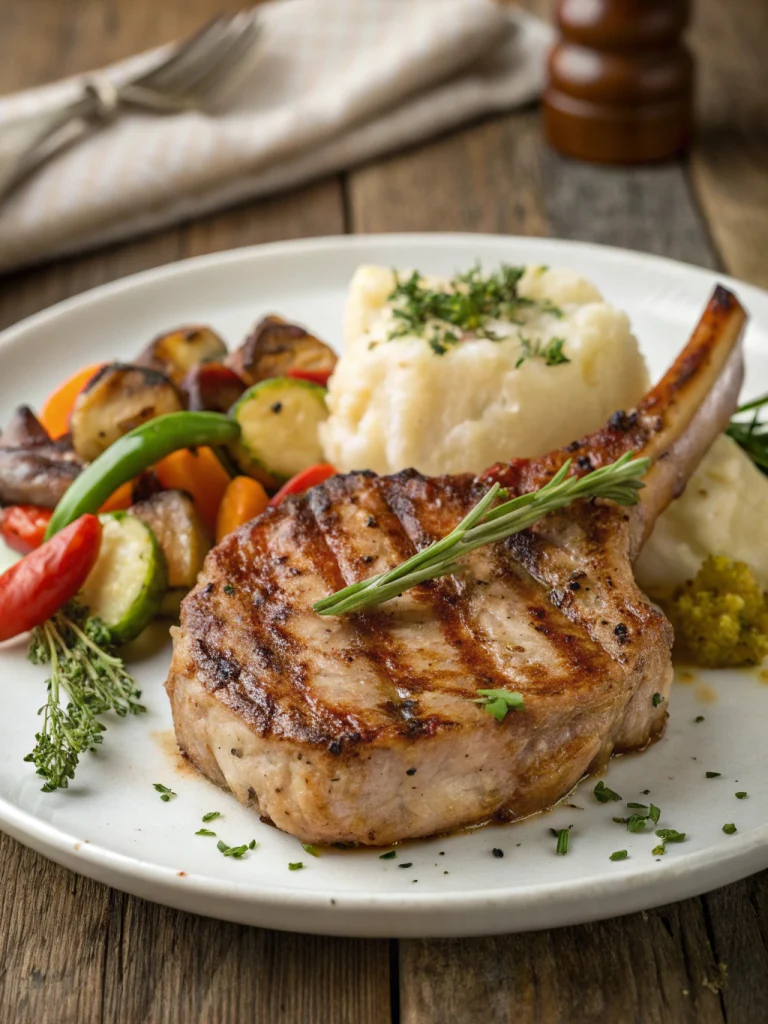
Creamy seasoned coating keeps these oven-baked pork chops unbelievably juicy—no marinade, no fuss.
Easy Hamburger Rice Casserole
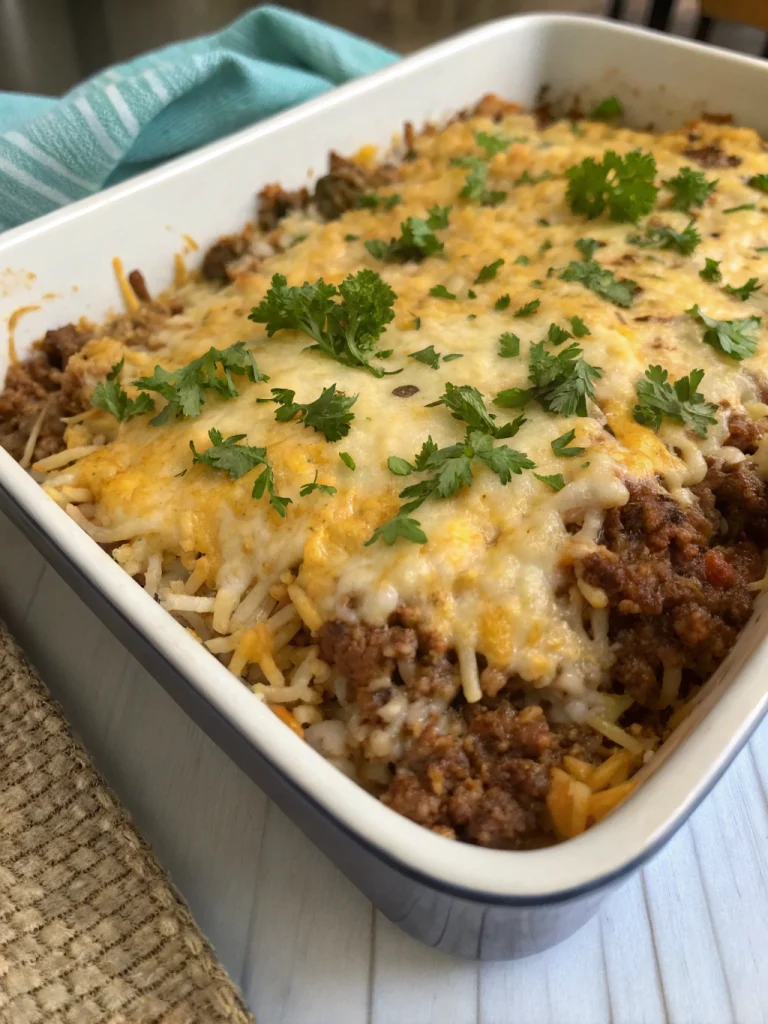
One-pan ground beef, rice, and tomato casserole bubbling with cheesy goodness—minimal prep, maximum comfort.
Baked Crispy Chicken
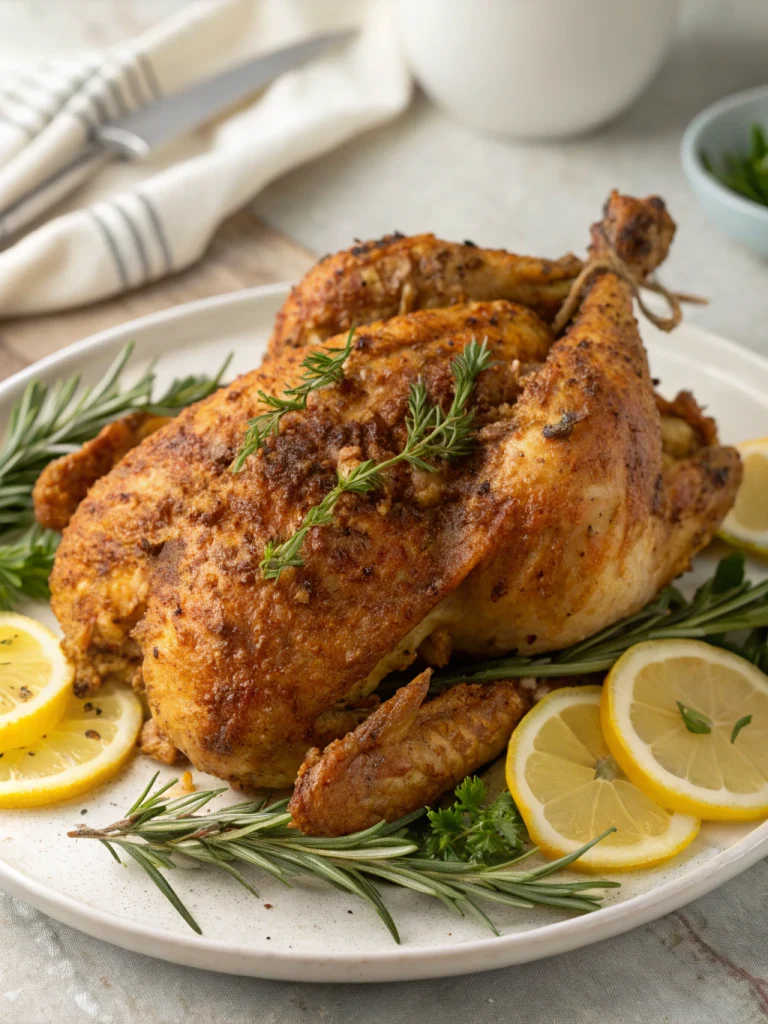
Crunchy, golden “fried” chicken straight from the oven—no greasy mess, just juicy meat and a crisp seasoned crust.
Pork Chop Supreme
Tender pork chops baked in a creamy mushroom-onion sauce for a hearty, old-school supper.
Garlic Steak and Potato Foil Packs
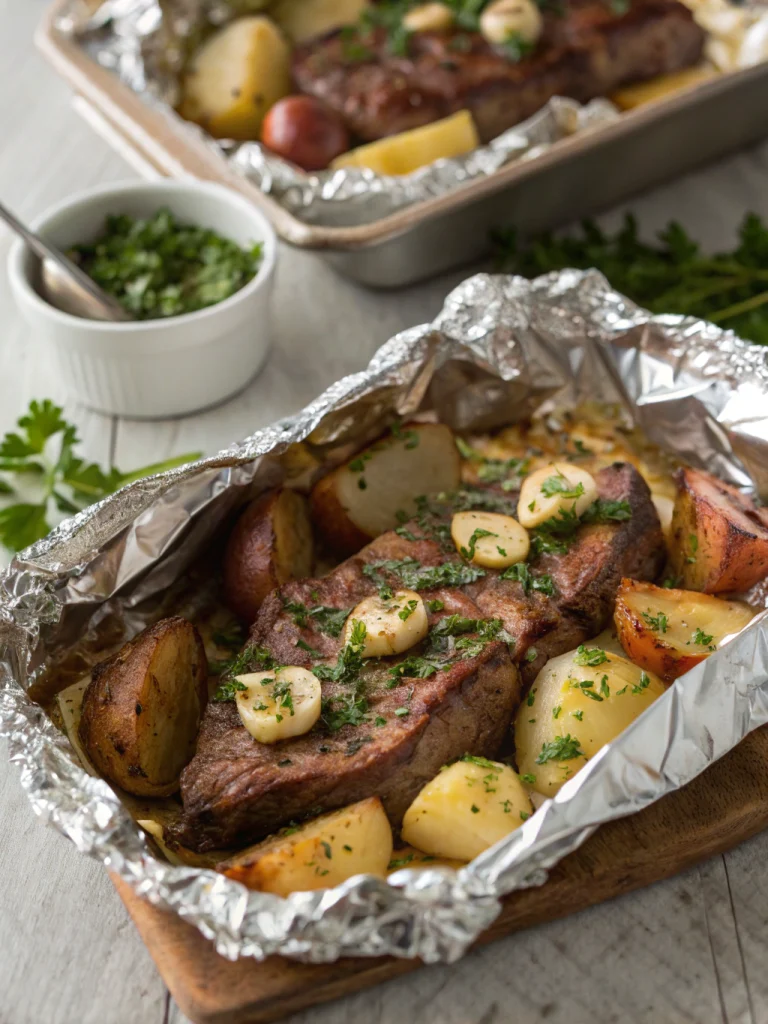
Grilled (or baked) foil packets loaded with garlicky steak bites, baby potatoes, and herbs—zero cleanup, maximum flavor.
Feta Chicken Salad
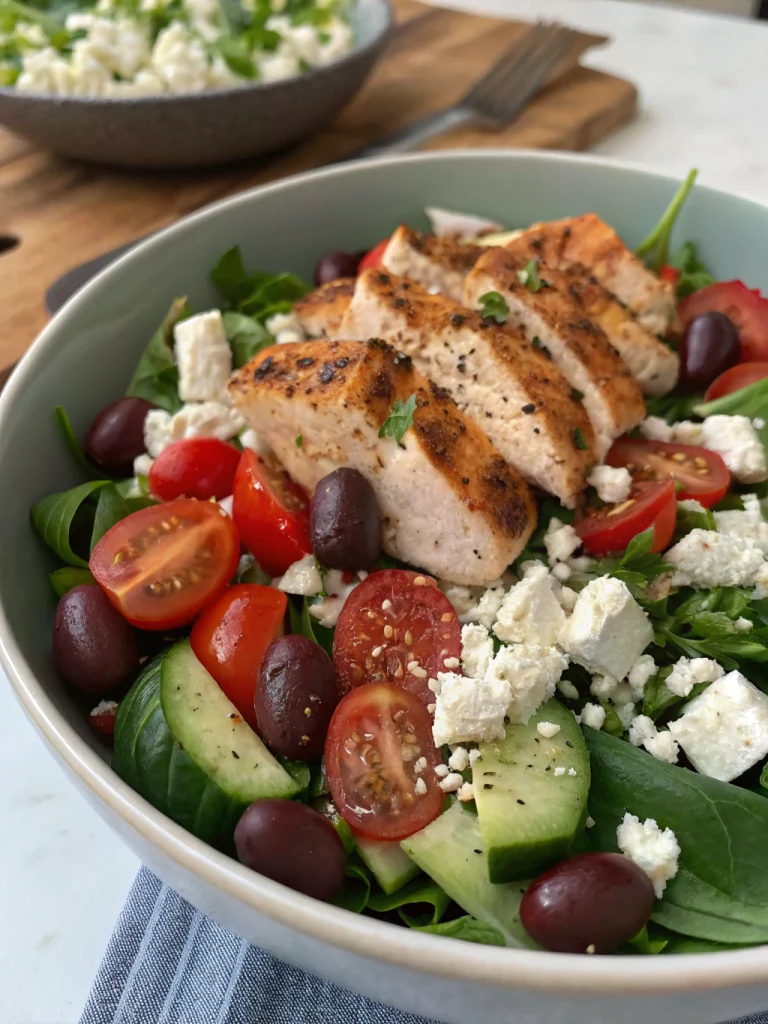
Cool, tangy feta meets tender chicken in a crisp, herb-kissed salad you can toss together in minutes. Perfect for lighter lunches or easy weeknight dinners.